A ceiling light will not illuminate the worktop you are standing at. Seven rules for task lighting in a bespoke kitchen, plus a planning checklist.
Task lighting is the part of a kitchen you notice from day one when it is missing, and the part people usually deal with last — once the units are in place and there is nowhere left to run a cable. In a bespoke kitchen, light is designed together with the joinery, not after it. Below are 7 rules that decide whether you can work at the worktop in the evening without squinting, plus a checklist for the conversation with your designer.
Why a ceiling light does not light the worktop
The usual arrangement looks like this: one fitting in the middle of the ceiling, a worktop under the wall units and a person standing between them. The result is predictable — your own shadow falls exactly on the chopping board. This is not about wattage. No amount of it will light a surface you are blocking with your own body.
Central lighting was designed for kitchens where the worktop stood by the window and wall units barely existed. Today's kitchen is different: cabinets running to the ceiling, an extractor over the hob, an island in the middle, often a room open to the living area with a single window serving the whole space. Light therefore has to work in layers — one over the worktop, one over the table, one as the background of the room.
The second reason is eye strain. When the prep zone is noticeably darker than the rest of the room, the eye readjusts every time you look down and up again. After an hour of cooking this registers as heavy eyelids, though it is rarely blamed on the lighting. Safety is a separate matter: a sharp knife and poorly visible fingers is not a combination you fix with care alone.
The third reason is colour. Under light with poor colour rendering it is hard to judge whether meat is cooked through or greens are fresh — everything turns greyish and uniform. The same light also changes how the kitchen itself reads: warm oak under cold, bluish light looks like cheap laminate.
The fourth reason is purely technical. Lighting is part of the furniture, not an accessory to it. The profile under the cabinet, the cable inside the carcass back panel, space for the driver and the controller — all of it has to appear on the drawing before production. Light added after installation ends in a surface-mounted strip and a cable running along the wall. The order of decisions matters more than the budget here, exactly as it does when planning storage in a bespoke kitchen.
7 rules for lighting the work zone in a bespoke kitchen
The seven points below follow the order in which the decisions are best made: first the light source above the worktop, then its colour and quality, then the zones beyond the worktop, and only at the end control and hardware. Reversing that order — starting with the choice of good-looking pendants over the island — is the most common reason why lighting in a finished kitchen photographs well and fails in daily use.
1. Light under the wall units: profile, strip, diffuser
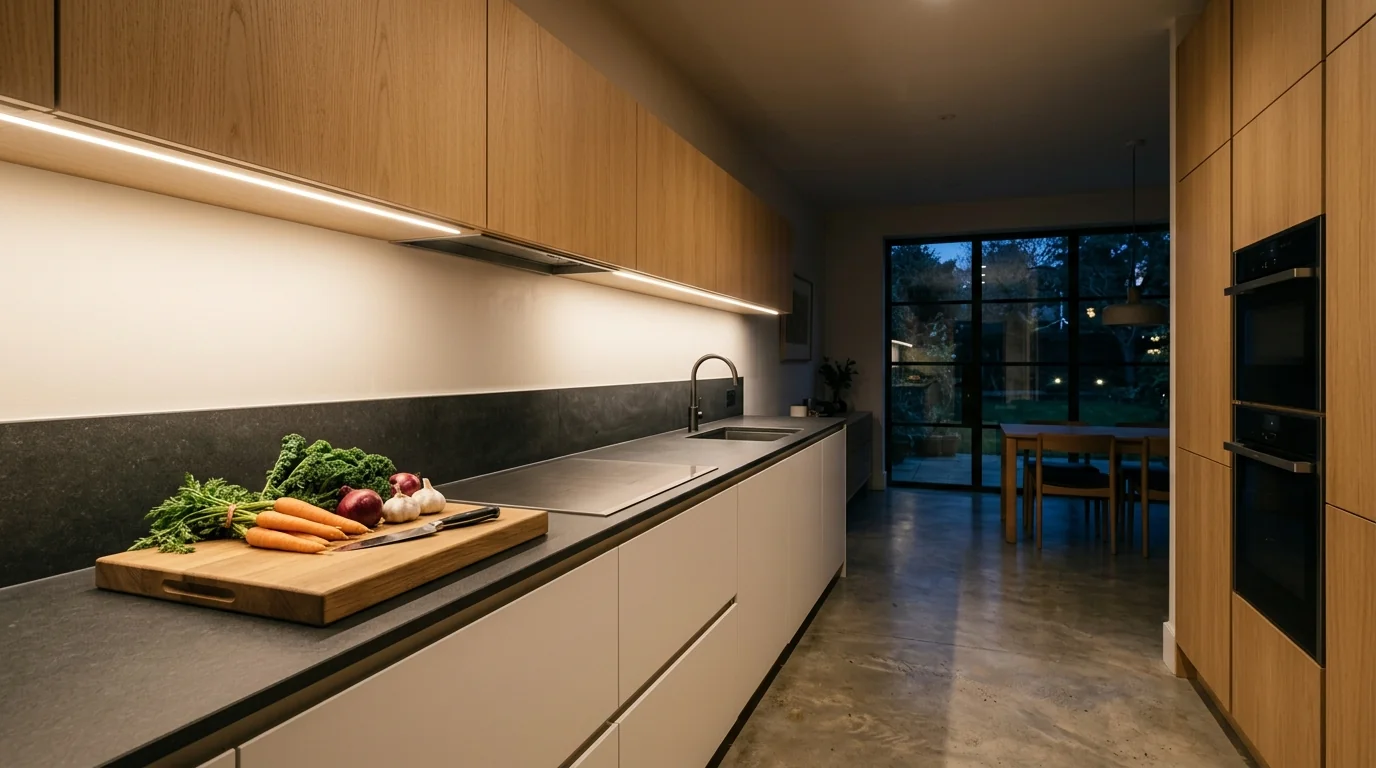
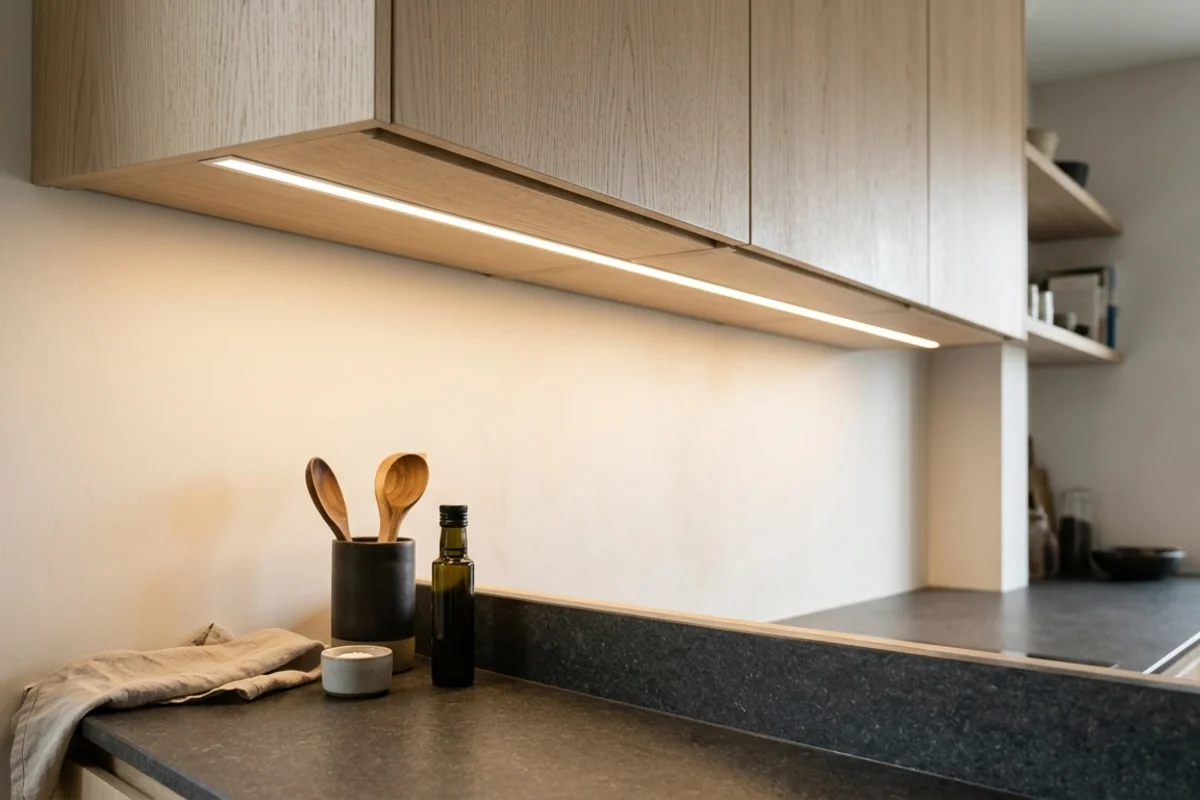
The main light source above the worktop sits under the bottom edge of the wall units — as close to the front as possible, not against the wall. It looks like a detail, but it is decisive: a strip fitted at the back lights the splashback rather than the board you are standing at. Moving the source towards the front edge shifts the light onto the middle of the worktop and cuts out the shadow cast by your own shoulders.
The strip belongs in an aluminium profile with a matt diffuser. The profile carries heat away, which translates directly into the lifespan of the diodes, and the diffuser spreads the light — without it you see a row of individual dots and their reflections in the worktop, which is particularly tiring on glossy and dark surfaces. If the worktop is glossy, a diffuser is not an option but a requirement.
Diode density is matched to the length of the run: the longer the row, the more visible the uneven patches from a sparse strip. In the work zone a continuous line along the full length of the wall units works better than sections above selected modules — gaps in the light are more noticeable than a general lack of brightness. Where there are no wall units, their role is taken over by a slim profile fitted to the wall or into a shelf at the same height.
2. Colour temperature: 2700, 3000 or 4000 K
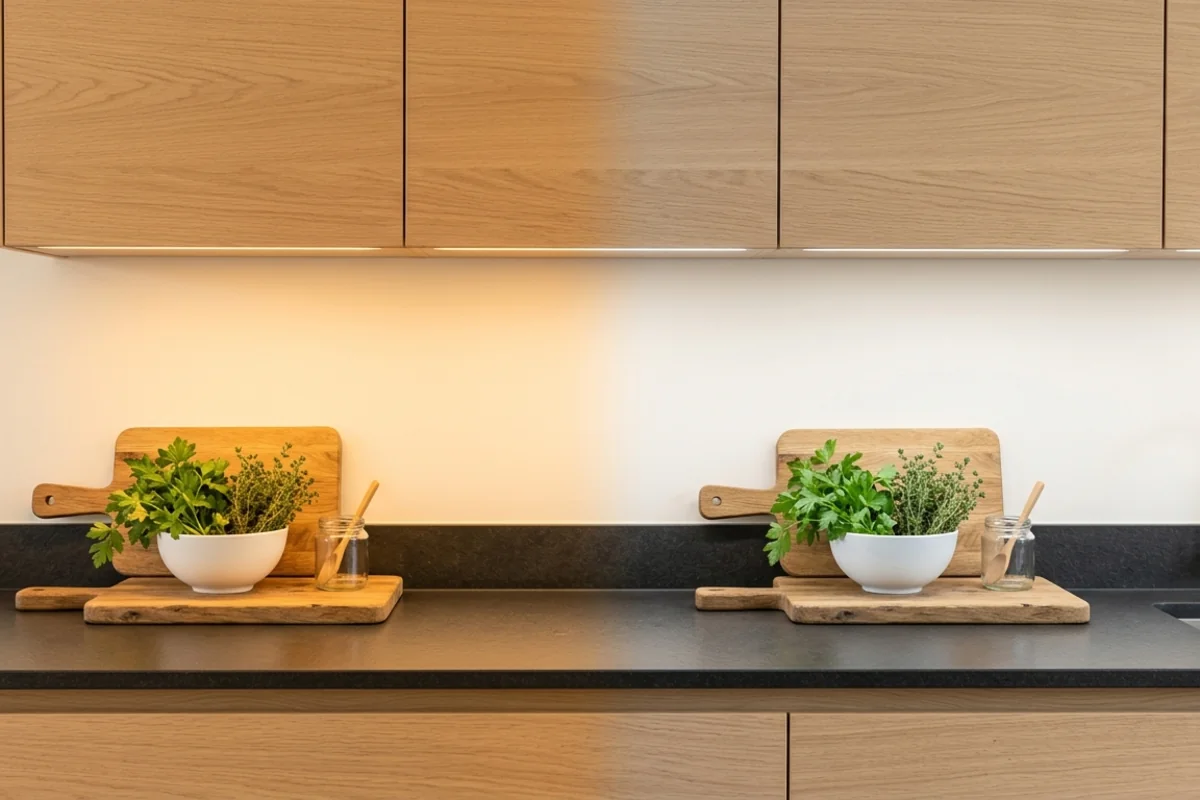
Colour temperature decides whether a kitchen reads as warm or clinical. 2700 K is close to an old incandescent bulb — cosy, good in the dining area, but it flattens contrast when you are chopping. 4000 K is neutral and very good for work, yet in a kitchen open to the living room it looks like an office. The compromise that works most often: 3000 K over the worktop and 2700 K over the table and in the seating area.
More important than the number itself is not mixing temperatures within one field of view. Two different tones in the same run of cabinets are spotted immediately and read as a defect, even if each was chosen correctly on its own. If lighting is bought in stages, write down the specification of the first batch — a year later nobody remembers it, and the difference between two shades of white is often more obvious than between two shades of front.
Tunable-white strips, moving from 2700 K in the evening to 4000 K while cooking, are increasingly common. They are convenient, but they need a controller and an extra core in the cable — one more reason to discuss lighting before the furniture goes into production rather than after installation.
3. Light quality: colour rendering, flicker, moisture rating
The colour rendering index describes how faithfully a source shows colours compared with daylight. In a kitchen that is not cosmetic: at low values raw meat, greens and spices lose the difference between shades, and judging freshness becomes guesswork. For the work zone look for sources above 90 — the price difference against the cheapest strips is small, and it is visible from the first use.
The second parameter, rarely discussed, is flicker. Cheap drivers produce a pulsation invisible to the naked eye but tiring over longer sessions and clearly visible in phone footage — if horizontal bands appear on screen, that is it. A decent driver with headroom on the wattage removes the problem and lasts longer than one specified to the limit.
The third issue is moisture. Fittings working directly above the sink and hob should carry a higher ingress rating; steam settling on the electronics is the most common cause of strips failing after a few seasons. The same applies to plinth lighting, which meets water every time the floor is washed.
4. Island and table: light that does not dazzle
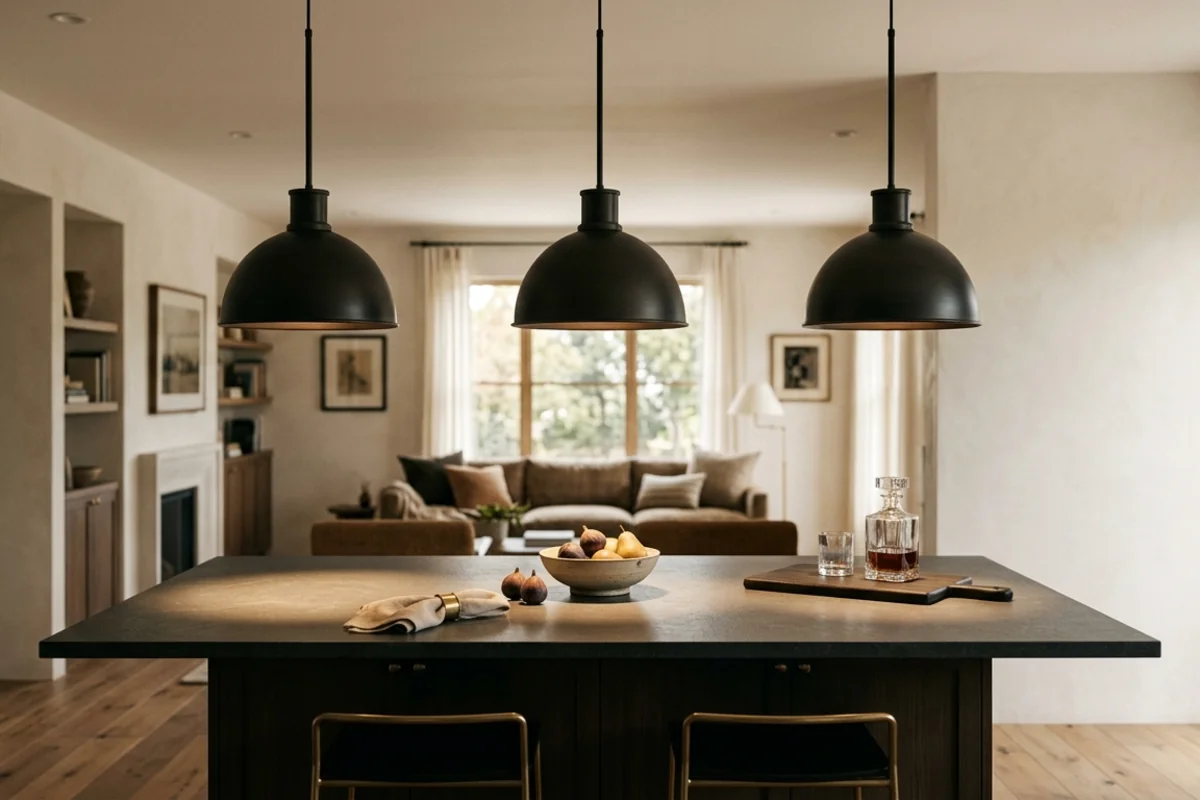
Above an island or a table a different logic applies than above a worktop against the wall: the source sits within the sightline of people seated there, so what matters is not only the amount of light but whether the diode itself is visible. Fittings with a deep shade or a louvre hide the light point and do not shine into the eyes of whoever is sitting opposite.
Mounting height is set so that the lower edge of the shade sits above the eye line of a seated person while still not blocking the view across the room — in practice around 70–80 cm above the island worktop. With three pendants in a row, spacing is measured from the centres of the shades, not from the edges of the island; otherwise the whole arrangement ends up asymmetrical against the furniture.
If the island also works as a prep area — with a hob or a sink on it — pendants alone are not enough. An additional downward source is then needed, from the ceiling or from the extractor, with the same specification as above the wall run. The chopping zone should not get worse light simply because it ended up in the middle of the room.
5. Scenes instead of a single switch
A kitchen works in several modes: morning coffee, cooking, dinner with guests, a quick trip to the fridge at night. One switch serving the whole room makes all of them look the same — usually too bright.
The minimum sensible split is three independent circuits: task light over the worktop, light over the table or island, and background light such as plinth lighting or a glow along the top edge of the units. Each should have its own switch, and the task circuit a dimmer as well. A lit plinth on its own works as a night light and means nothing else has to be switched on.
App control or motion sensors make sense where they genuinely simplify something: a sensor in the larder unit or under the cabinet by the kitchen entrance saves hunting for a switch with full hands. Automation applied to everything at once usually ends with the household pressing one button anyway while the rest of the functions sit unused.
6. Light inside the joinery: drawers, larders, glazed units
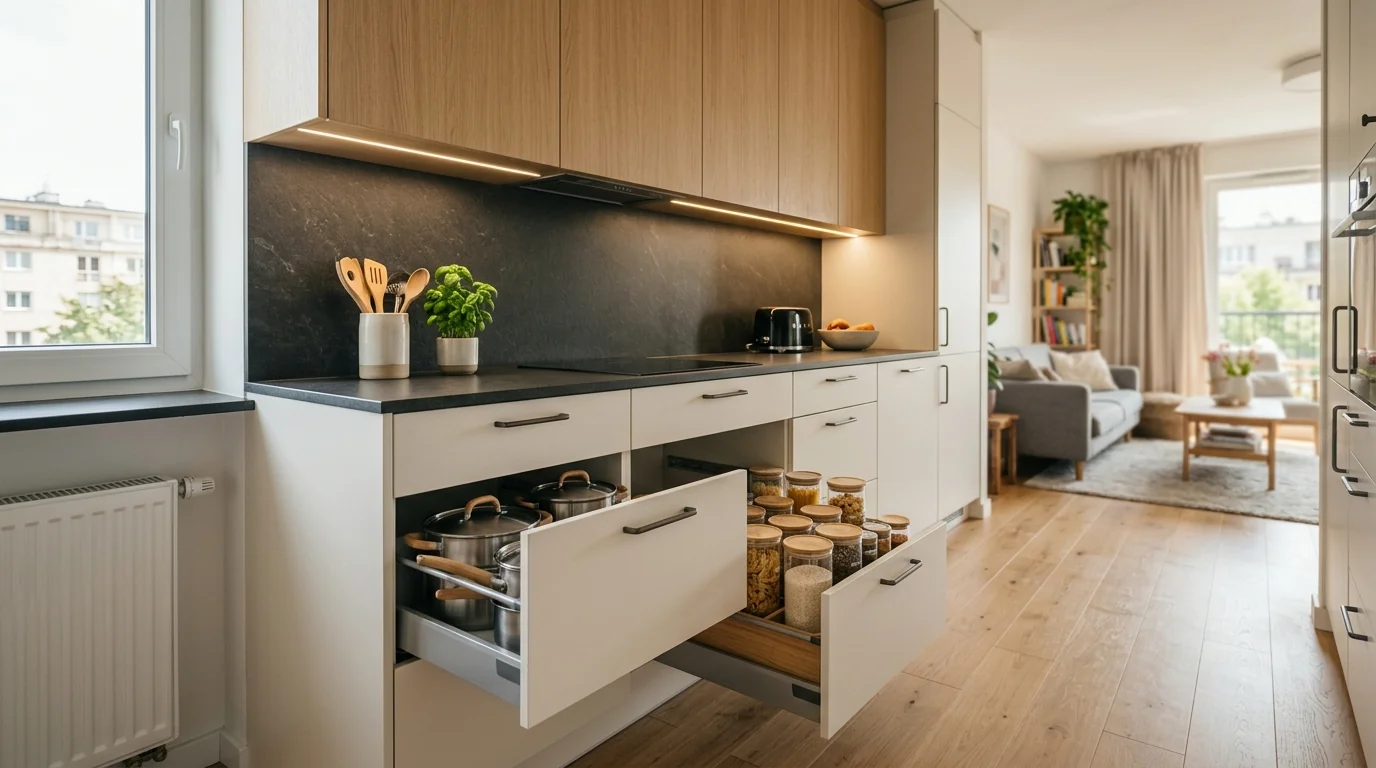
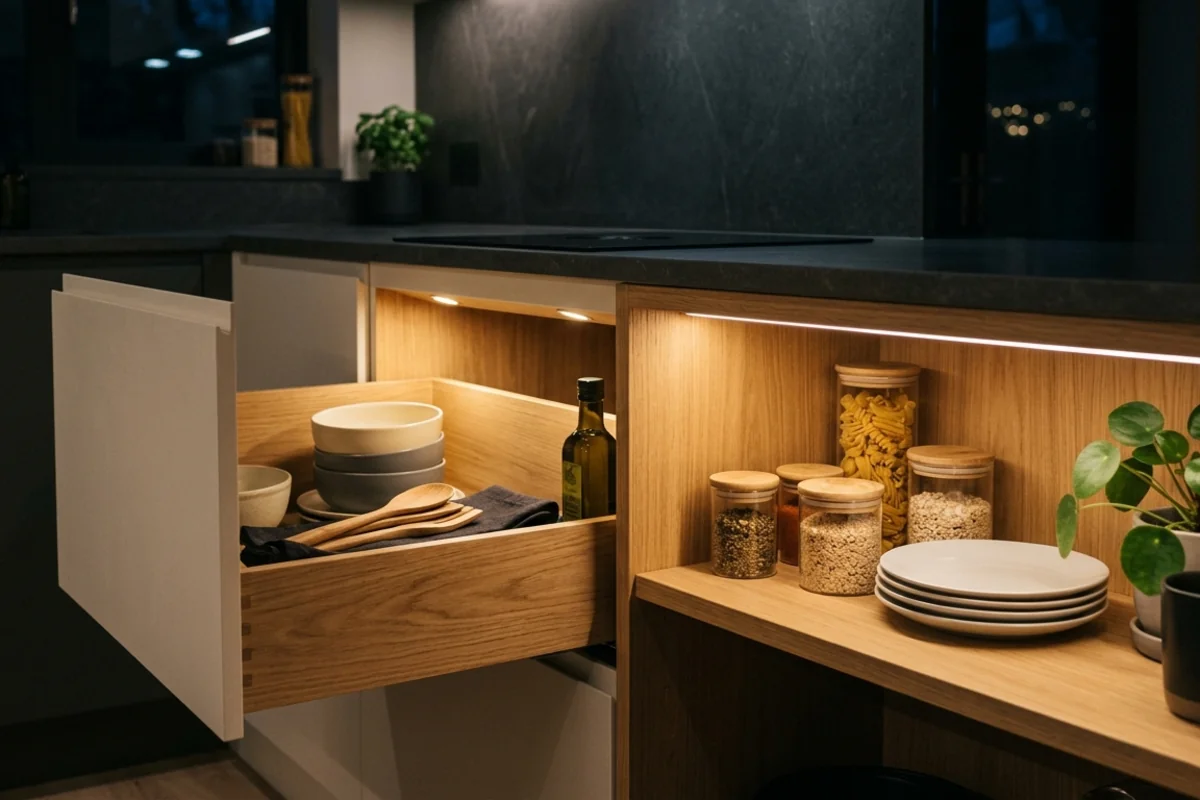
The inside of a deep cabinet is dark by definition — the front covers exactly what needs lighting. A spot source triggered by an opening sensor solves this without any switch: the drawer slides out and lights itself.
It pays off most in three places: the larder unit, where visibility of supplies is the point; deep drawers of small items, where you otherwise search by touch; and the corner unit with a pull-out mechanism, which room light never reaches. In glazed display units the light serves a different, decorative purpose, and there a warm tone at low output works better.
There is one technical condition: the cable needs a planned route through the carcass and the sensor a position where it does not clash with the runner. That is a detail drawn at the furniture design stage. After installation all that is left is the battery version, needing new cells several times a year, and a strip stuck on the surface, visible every time the drawer opens.
7. Drivers, control and servicing hidden in the furniture
Every strip needs a driver, and the driver needs a place — ventilated, accessible, and not one where towels are stored. The most common mistake is pushing it behind a drawer or into the cabinet under the sink: the first makes servicing hard, the second shortens the life of the electronics.
Sensible locations are the top of a tall unit, the space above the extractor, or a separate shallow technical module with a lift-up front. It is also worth splitting the installation across several smaller drivers instead of one large unit — a failure then does not black out the whole kitchen, and replacement costs a fraction of a central device.
The last item is documentation: a drawing showing sockets, drivers and controllers, handed over with the kitchen. Five years on, nobody remembers where the plinth lighting driver was hidden — which is usually exactly when it stops working. How these solutions look in finished interiors can be seen in our portfolio.
How to plan lighting in your own kitchen
Before deciding how many fittings and of what kind go into the project, answer a few questions. They usually change the layout more than any catalogue does.
- When do you cook most often? If mainly in the evening, artificial light is the primary source rather than a supplement — which makes saving on the work zone pointless.
- Where is the window in relation to the worktop? A worktop facing the window gets good daylight and needs fewer fittings. A worktop along a side wall works in shadow for most of the day.
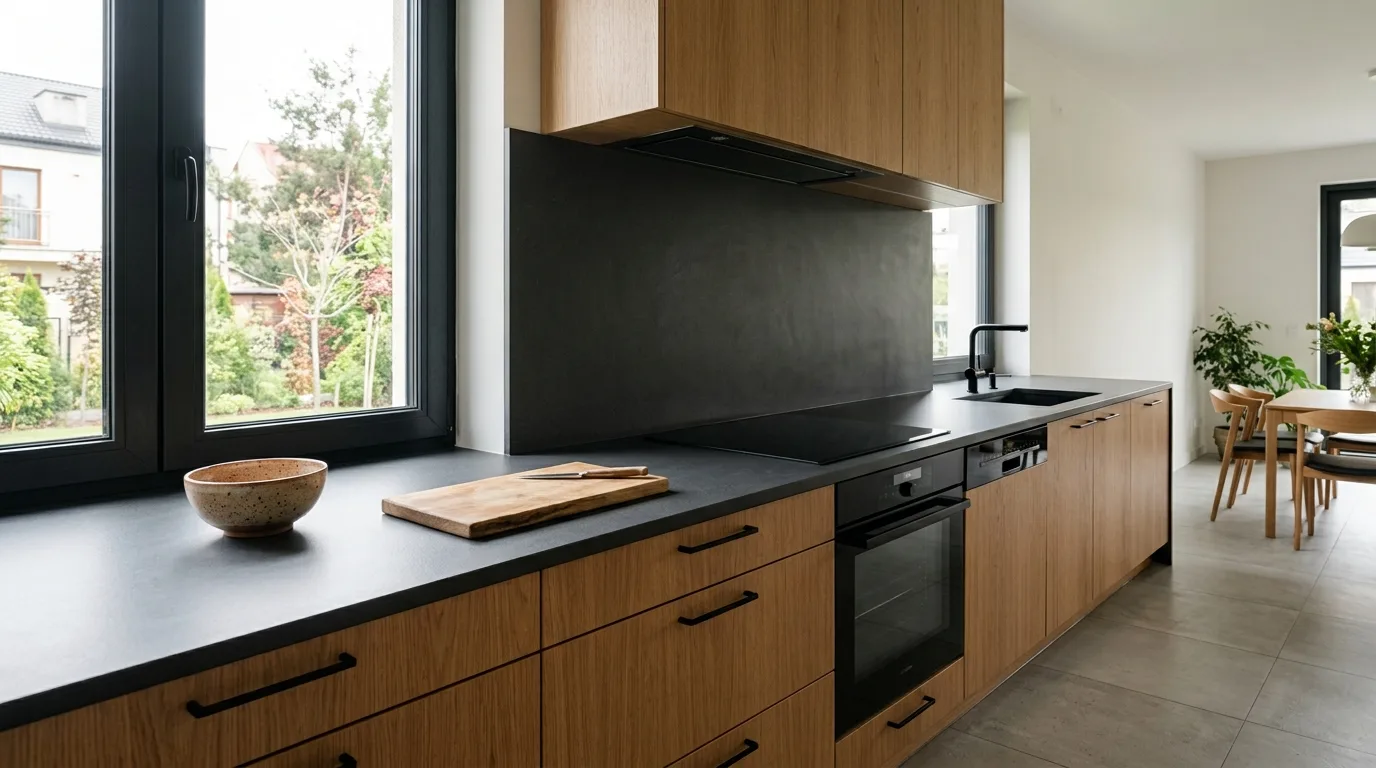
- What colour are the worktop and the fronts? Dark matt surfaces absorb light and need noticeably more of it than pale ones. Glossy surfaces instead need better diffusion so they do not mirror the light points.
- Is the kitchen open to the living room? If so, tone and brightness have to agree with the rest of the space — otherwise you see a bright office-like rectangle from the sofa.
- Who else uses the kitchen? The need for light rises markedly with age; that is an argument for a dimmer and headroom in brightness, not for one "sufficient" figure.
There is no universal lighting scenario — only one matched to a specific flat, a specific window and a specific way of cooking.
The most common kitchen lighting mistakes
From conversations with clients who come to us after their first kitchen, lighting problems rarely come from the choice of fittings. Far more often they come from when the fittings were thought about.
- A strip with no profile and no diffuser. The cheapest version throws dots, reflects in the worktop and loses some diodes within a couple of years because the heat has nowhere to go.
- Lighting planned after the joinery. Once the units are standing, what is left is a cable on the surface and a strip glued under the cabinet — precisely at eye level.
- One circuit for the whole kitchen. With no zoning, in the evening everything is on or nothing is, and dinner under full task light feels like a canteen.
- A driver in an inaccessible spot. Hidden behind a carcass, the first fault means dismantling furniture; the service call costs more than the device itself.
- Mixed tones in one run. A strip bought a year later as "the same one" almost always shows a visible difference in shade between modules.
What it costs and how the project runs
Pricing for lighting depends on the length of the runs, the number of circuits and the way it is controlled — a simple line under the wall units is costed very differently from a kitchen with a lit plinth, a larder unit and scene control. That is why every project is quoted individually after a survey rather than from a per-metre price list. In our experience — more than 300 completed interiors and 3,000 m² of our own production — lighting is the part of the project clients most often mention a year later: "we should have done it straight away".
A bespoke kitchen normally takes 2-4 weeks from approved design to installation, depending on the material and current production load. The process runs like this: a survey in the flat, light zones agreed together with the cabinet layout, tone and fittings selected, a drawing with sockets and drivers handed to the electrician before plastering, production with cable routes already built into the carcasses, then installation and adjustment. The earlier the electrician receives the joinery drawing, the fewer sockets have to be moved later.
The choice of fittings is worth coordinating with the finish of the fronts and the worktop: the same 3000 K reads differently on matt and on gloss, which we covered when writing about matt versus gloss kitchen fronts. Examples of finished work for flats and houses are collected in our bespoke furniture for the home section.
If you are planning a bespoke kitchen in Warsaw and are not sure where to start, begin with our short style-matching quiz — it will narrow the choice before you sit down with a designer.