Worktop and backsplash are now one decision, not two. Six directions for 2026 and a checklist for choosing the right material for your kitchen.
The worktop and the wall above it are no longer two separate choices from two different catalogues. In kitchens designed in 2026 they form a single material system, planned as one from the start — easier to clean, cheaper to quote and much harder to get wrong. Below are 6 directions that genuinely work today, plus a checklist for picking a material that fits how you actually live, not just how the kitchen photographs.
Why the worktop and the wall are planned together
A few years ago these two elements were designed separately: the worktop was chosen by the joiner building the kitchen, the tiles by the finishing crew, often at the very end and from whatever was in stock. The result was accidental. Today more and more studios plan both in a single project, and it is not only about looks.
The first reason is hygiene. The joint between the worktop and the tiles collects grease and moisture, and it never really comes clean, no matter how regularly you scrub it. One material, run without a break, removes the problem physically rather than cosmetically.
The second reason is visual coherence. A kitchen where the worktop and the wall differ in colour, texture and sheen looks chopped up, even when each element is attractive on its own. One material — or two, deliberately chosen in the same tonality — creates the sense of calm that clients moving away from the maximalism of recent seasons are now looking for.
The third reason is practical: the quote. Ordering the worktop and the wall from one supplier, from the same production batch, avoids shade differences between deliveries and usually costs less in transport and installation than two separate orders. A kitchen with a clear material concept is also easier to value on resale and does not invite the question of what is hidden under a visible join.
6 ideas for the worktop and the wall above it in 2026
The point is not to pick the most expensive material on the list, but the one that suits how you really use the kitchen. We have deliberately spread the options across the whole price range: from maintenance-free surfaces, through materials that need regular care, to deliberate contrasts where wall and worktop differ in texture but hold one tonality. This is a map of options, not a ranking.
1. Quartz sinter in matte graphite
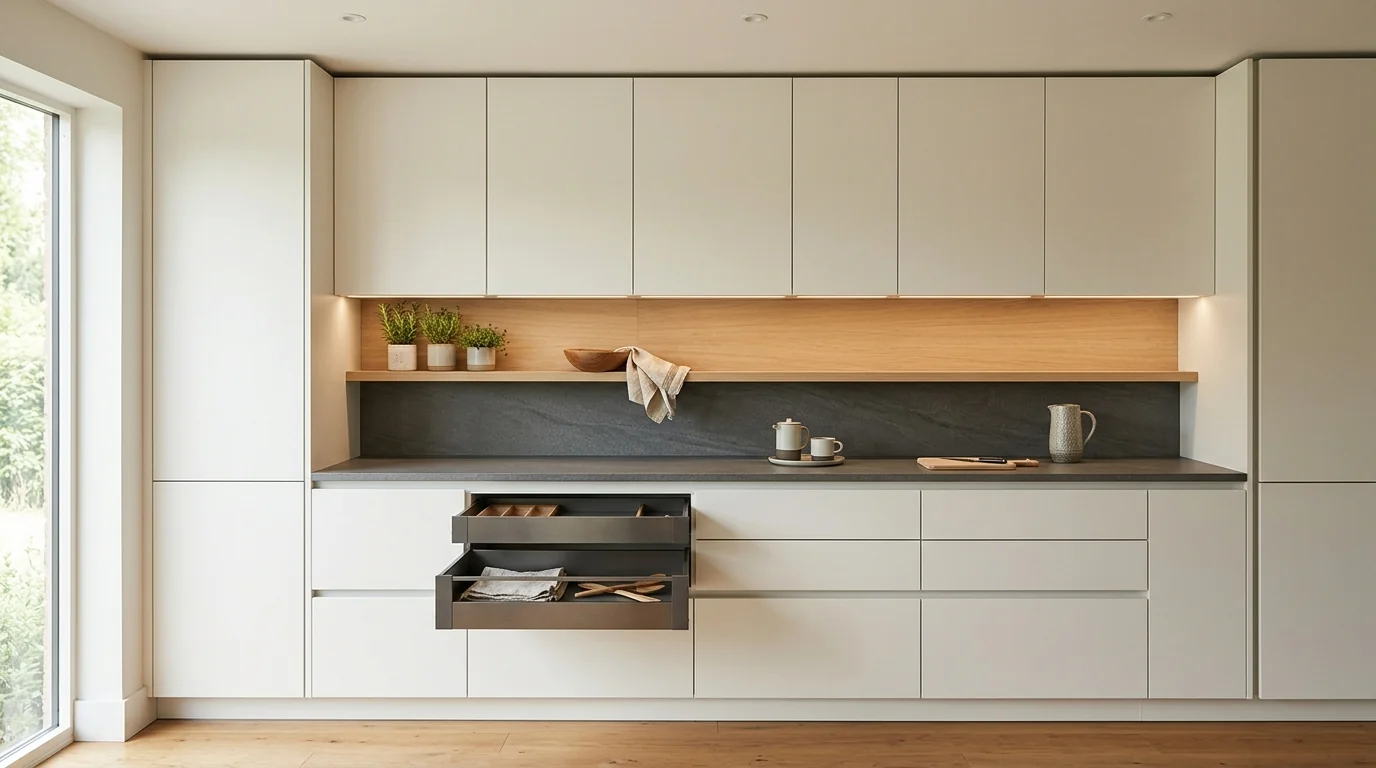
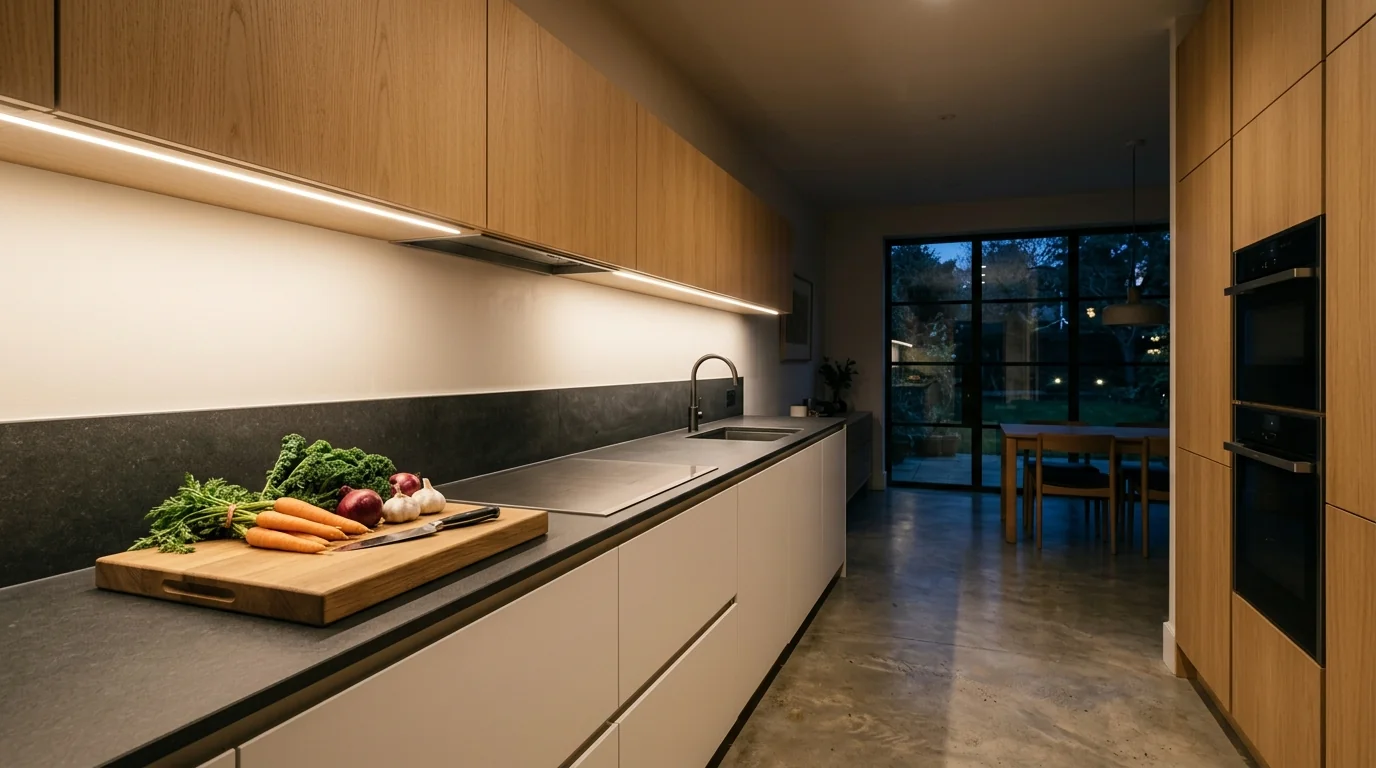
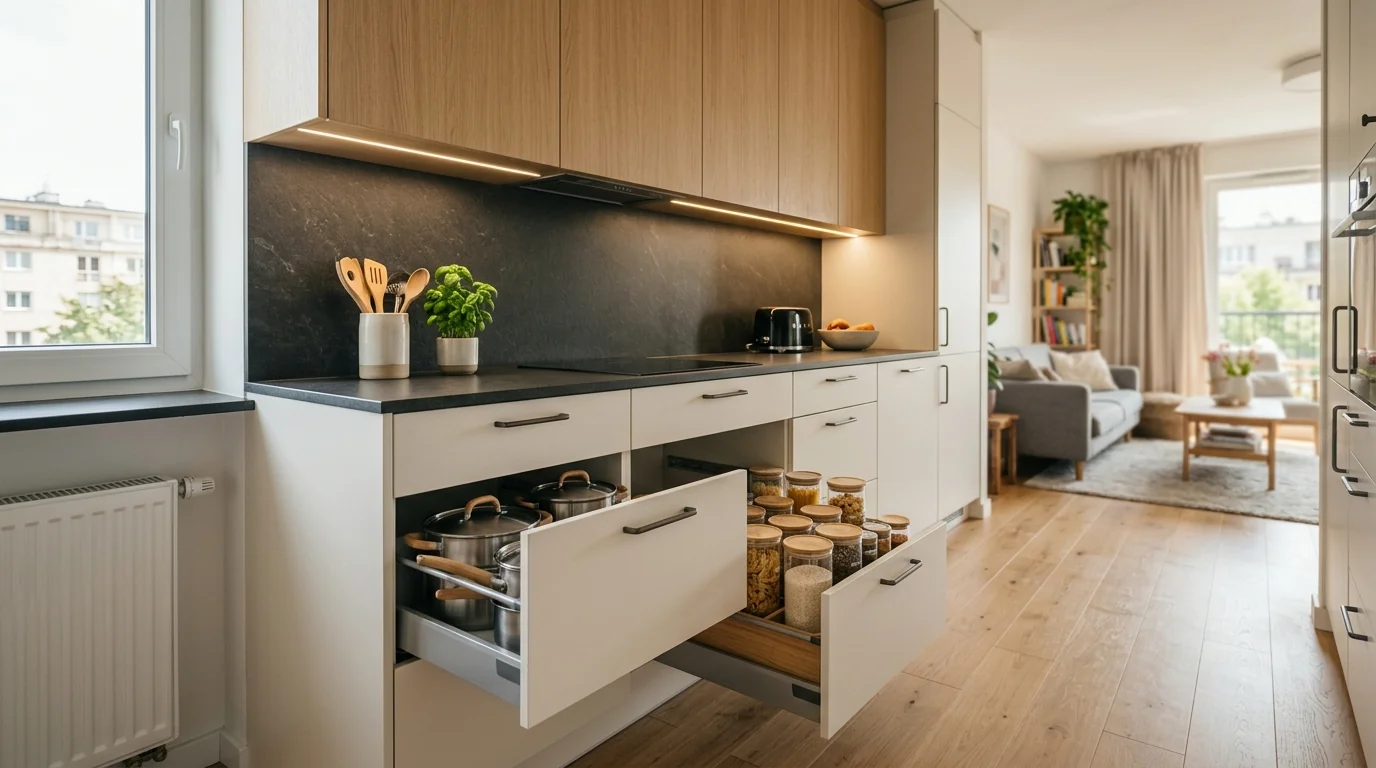
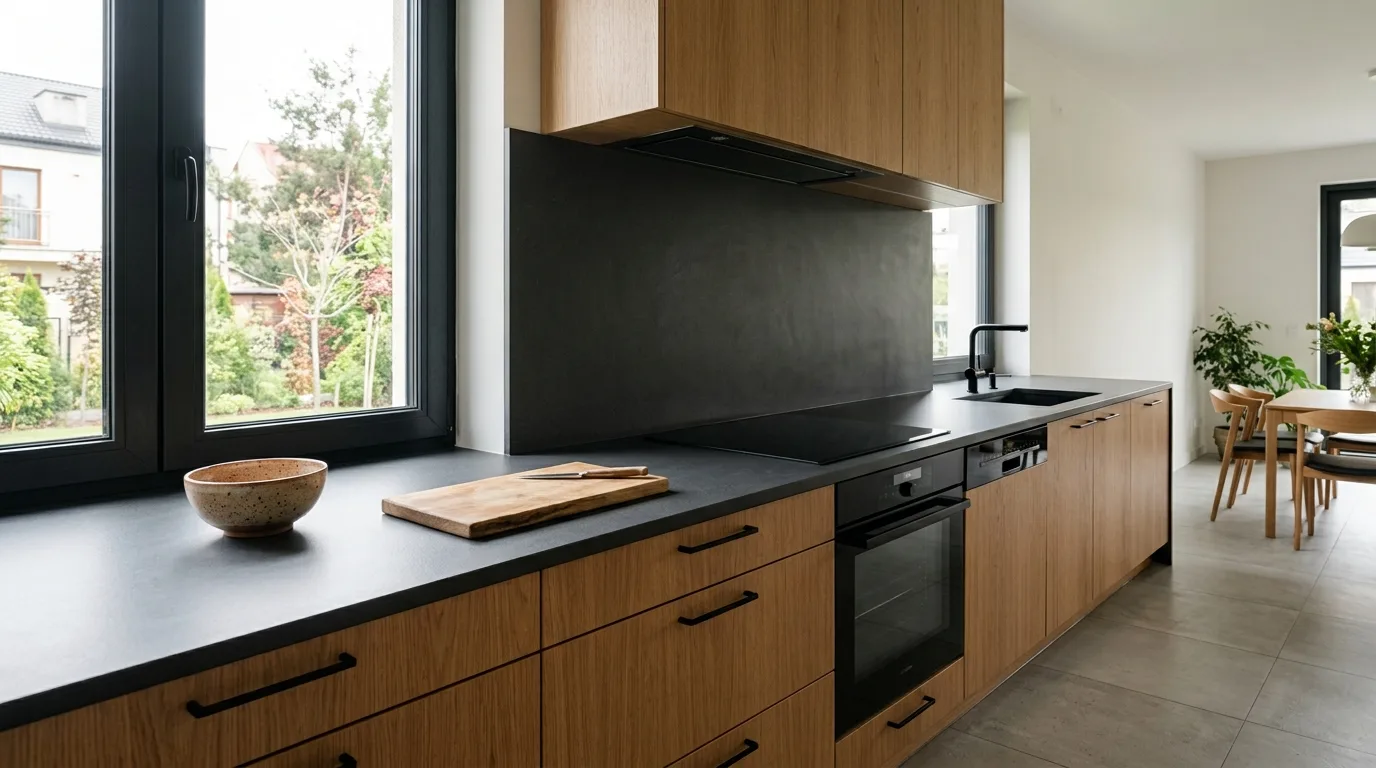
Quartz sinter stopped being a luxury-only choice in 2026 — prices have levelled out and availability has improved. A matte graphite surface running seamlessly from the worktop up the wall creates a monolithic effect: no visible joint, no glossy reflections to tire the eyes under evening lighting. The material handles high temperatures, barely scratches in daily use and does not absorb grease or red wine. Graphite works well with oak veneer fronts or matte black lacquer. The only drawback is installation: the slabs need precise cutting around sockets and the extractor, so the work belongs with a workshop that measures on site rather than ordering from a catalogue.
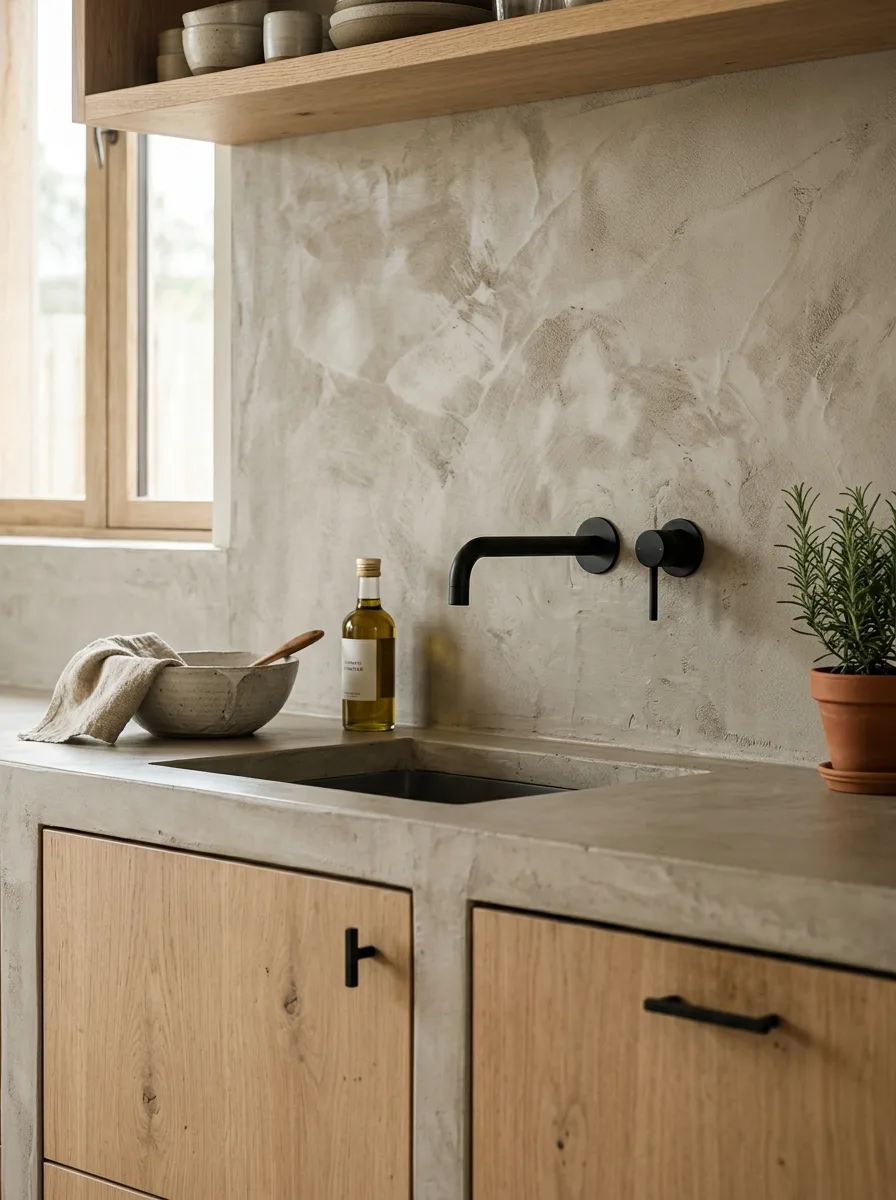
2. Seamless microcement
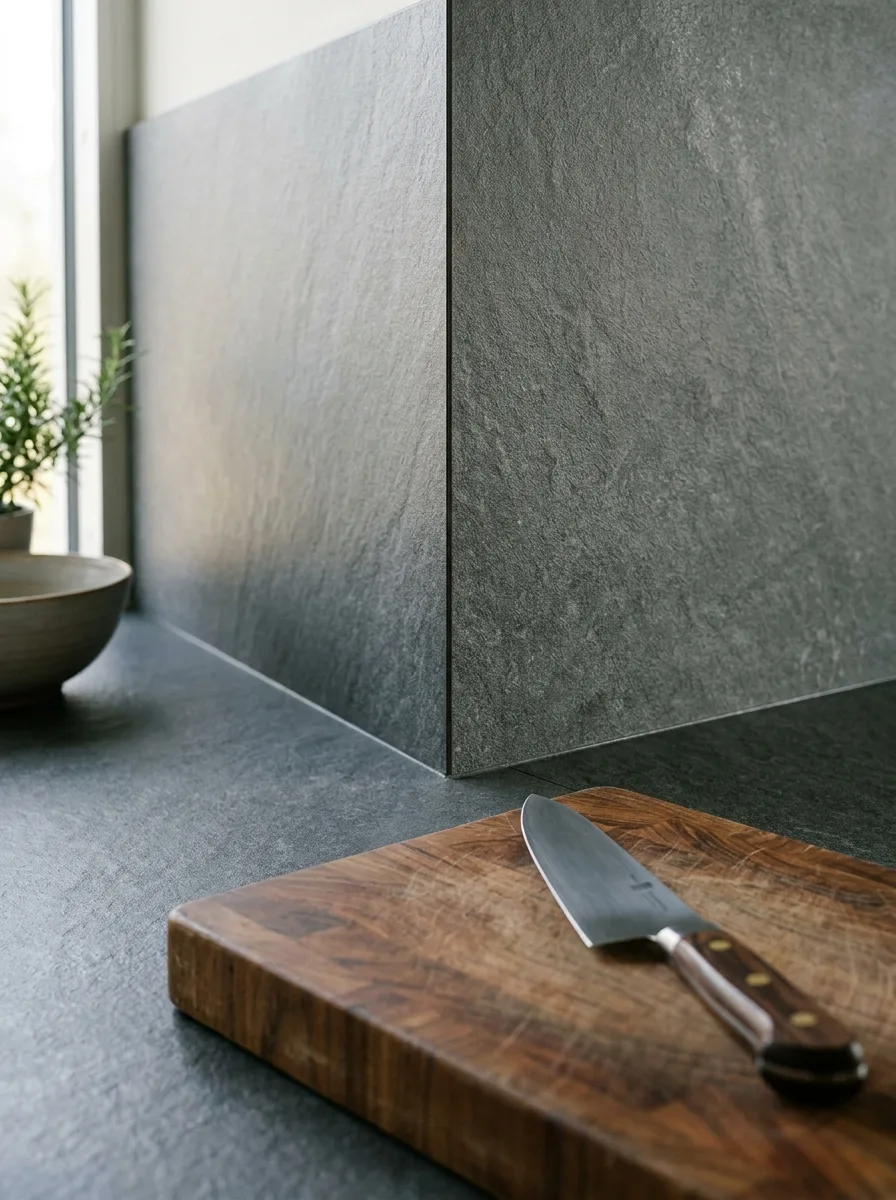
Five years ago microcement was mostly associated with café floors; today it increasingly covers the worktop and the wall at once. The result is a kitchen without a single joint, visually calm, with a slightly raw concrete texture. Microcement is applied by hand in layers, so every kitchen turns out a little different — its strength if you want something unique, but also a reason to check that your contractor has real experience with kitchens, not only floors. It needs sealing and a refreshed protective coat every few years, which makes it a choice for people who enjoy a living material rather than a maintenance-free one. It looks excellent with warm timber and slim black handles, especially in kitchens open to the living room where the surface should act as a backdrop, not the main character.
3. Brushed stainless steel
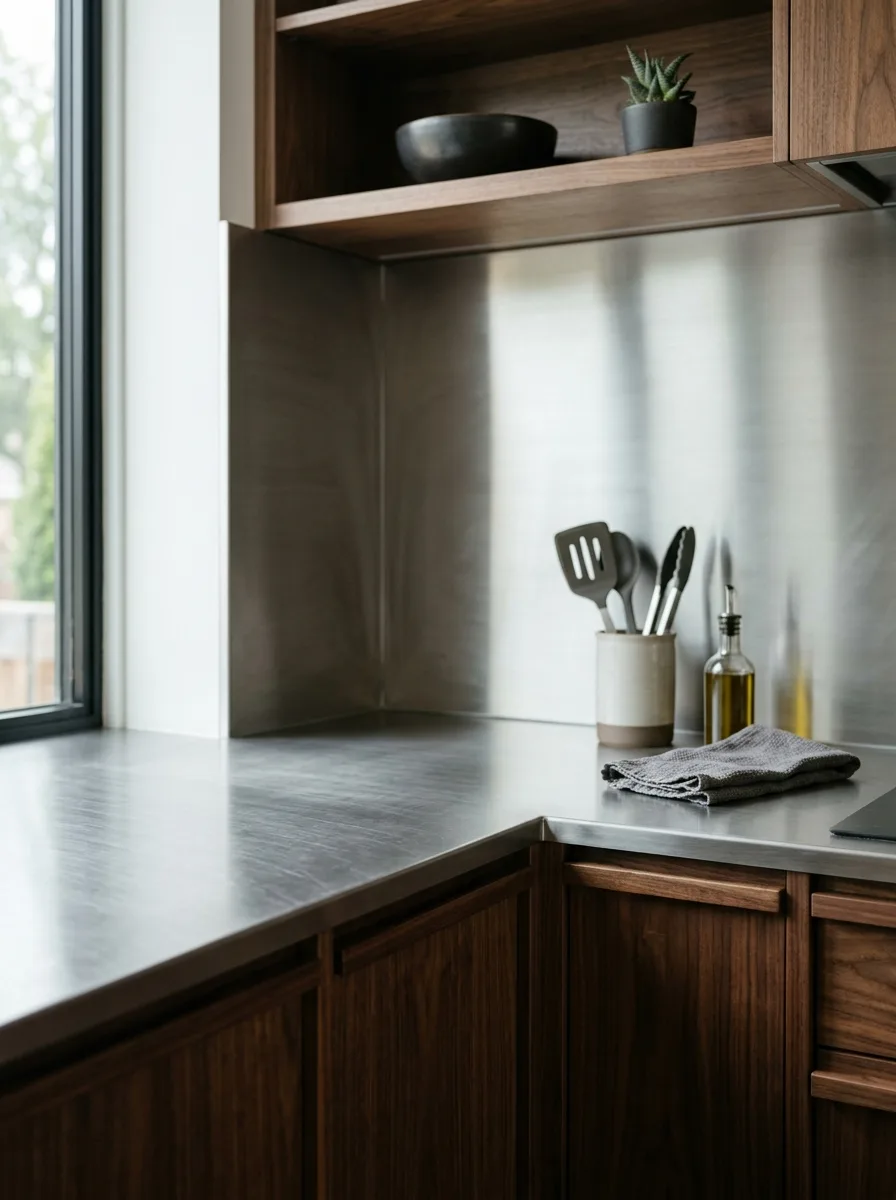
Stainless steel spent years confined to professional kitchens and is now returning to homes — particularly those where people cook seriously and often. Run from the worktop onto the wall, it gives a continuous, hygienic surface you can wash without worrying about residue in joints. A brushed finish hides fingerprints far better than a polished one. It resists knife damage well, though you have to accept that fine scratches gradually become part of its character, exactly as in restaurant kitchens. It pairs beautifully with dark timber and matte black fronts, giving the interior an industrial but far from crude feel.
4. Marble and lookalikes with bold veining
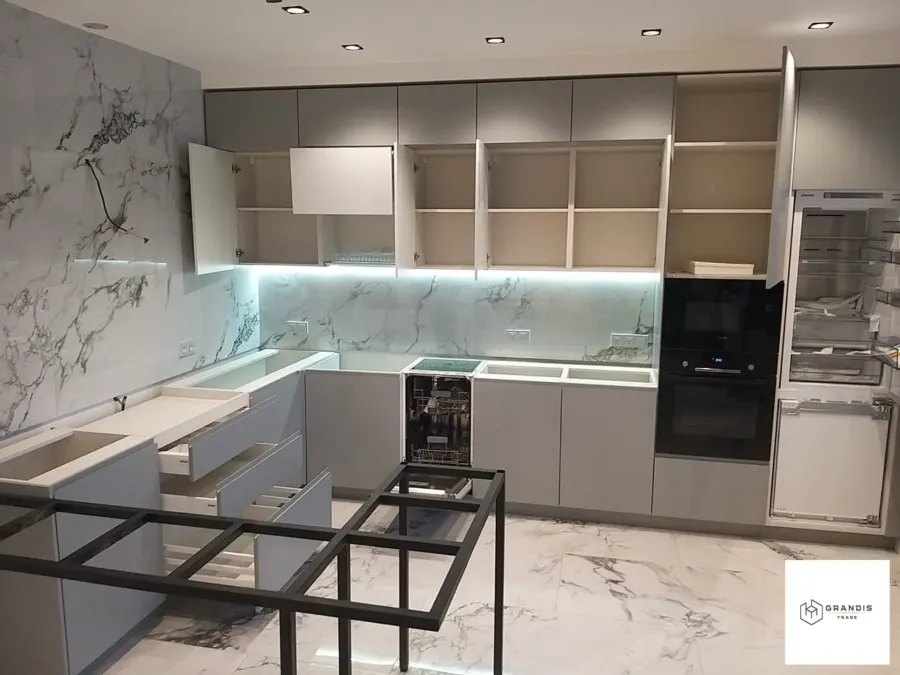
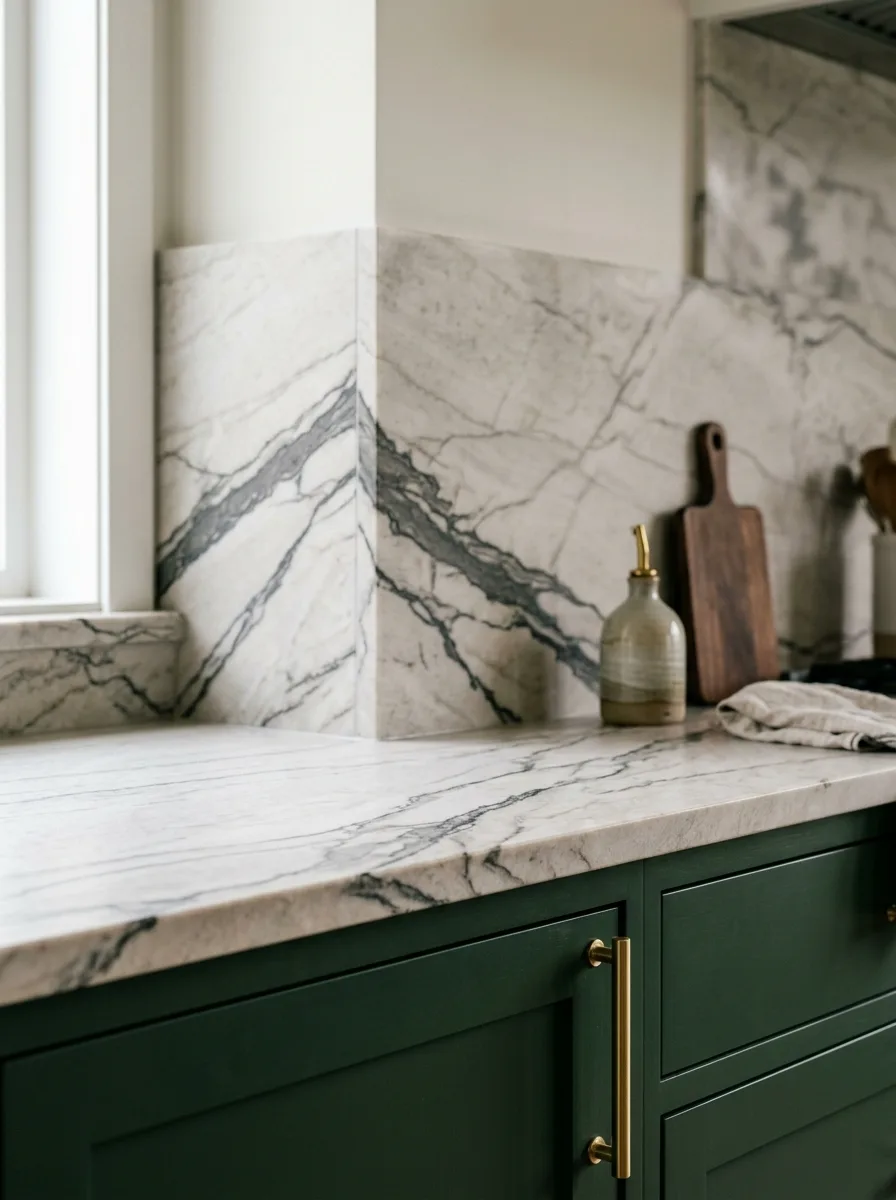
Real marble on the worktop and wall remains one of the most recognisable signals of an expensive kitchen — but clients increasingly choose sintered stone or engineered alternatives with a marble pattern to avoid staining from lemon or vinegar. The key detail in 2026 is bold, irregular veining: a light background with dark, cracked lines, run so the pattern on the wall continues the pattern on the worktop instead of starting again. That requires the slab layout to be planned precisely before production, so ask to see a visualisation before ordering. Natural marble needs sealing and care around acidic food; sintered stone essentially does not. Both work well with écru or deep green fronts.
5. Coloured lacquered glass in a muted shade
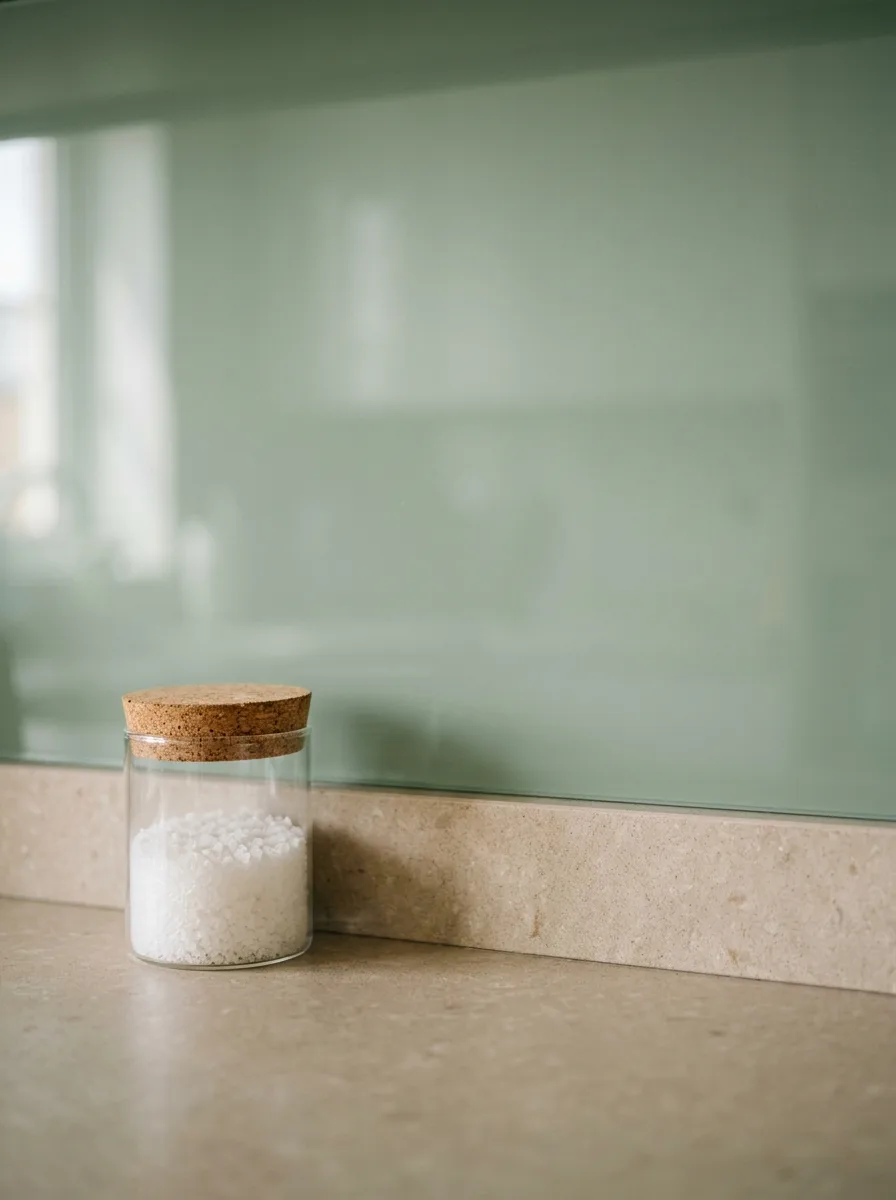
Lacquered glass on the wall gives the smoothest, most hygienic surface available and allows any made-to-order colour, so you are not limited to existing tile collections. In 2026 the shift is away from saturated colours towards muted ones: sage green, sandy beige, warm grey. The worktop is then usually made from a different material — stone or compact laminate — in a close tonality. It is one of the few combinations on this list where the two materials differ physically yet read as a single palette. Glass wipes clean in seconds, holds no odours and needs no grouting. Worth remembering: gloss shows every fingerprint, so for heavy daily cooking a semi-matte finish is the safer call.
6. Oak veneer paired with a stone worktop
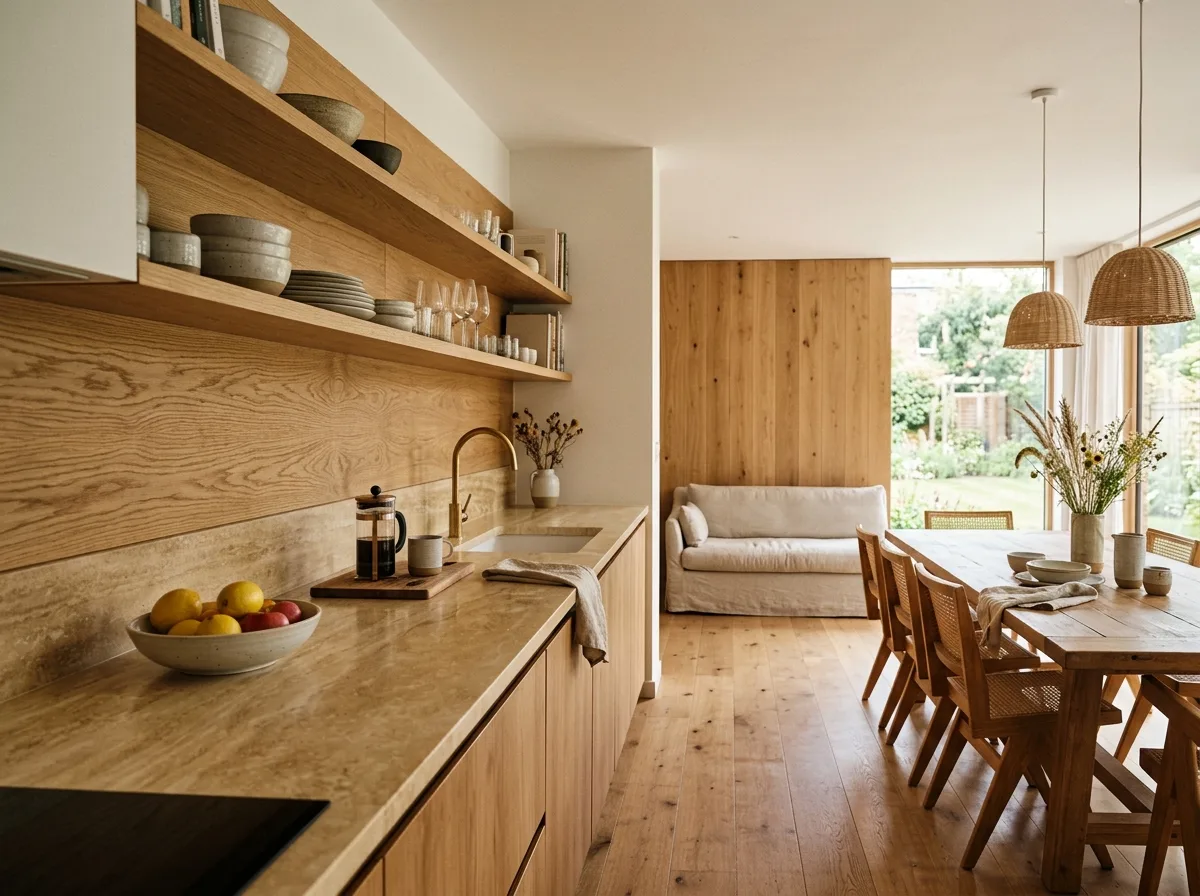
Not every kitchen needs one material across worktop and wall — sometimes a deliberate contrast within a shared tonality works better. Natural oak veneer on the wall, paired with a stone or quartz worktop in a similar warm shade, gives the interior a depth that a single material cannot achieve. The direction is especially effective in kitchens joined to a dining area or living room: the wall draws the eye towards timber furniture elsewhere in the space, and the whole thing starts to read as one designed interior rather than a separately purchased kitchen. The veneer needs a moisture-resistant lacquer around the sink and hob — the one place worth considering an insert in another material, such as a narrow stone strip behind the hob itself.
How to choose the right material
Before settling on one option, it is worth answering a few questions that matter more than whatever happens to be trending.
- How much do you actually cook? For intensive daily cooking, quartz sinter or stainless steel will serve you better than microcement or natural marble.
- Who uses the kitchen? In homes with small children, choose materials that resist impact and clean up without special products.
- How much upkeep are you willing to do? Stainless steel and sintered stone need nothing beyond washing. Microcement and natural marble need periodic sealing.
- What is your finishing budget? Materials can be combined — expensive stone only on a narrow strip behind the hob, the rest in compact laminate in the same shade.
There is no single best material for 2026 — only the best material for a particular way of living.
Common mistakes when joining worktop and wall
Judging by clients who come to us after a first attempt went wrong, most problems come not from the material but from the order in which decisions were made.
- Choosing the wall after ordering the worktop. If the worktop is already in production and the wall is matched to colour a week later, a shade difference is almost always visible — even with the same material from a different batch.
- Ignoring the direction of the veining. With strongly patterned stone or sinter, a wall and worktop cut from different parts of the slab will not visually connect, even if the colour is identical. This is planned before cutting, not fixed after installation.
- Forgetting sockets and the extractor. A continuous surface looks good in a visualisation, but every socket, switch and hood edge is another opening that has to be cut precisely — and the harder the material, the smaller the margin for error.
- Judging a sample under the wrong light. Sinter and microcement look markedly different in daylight from a window than under warm LED in the evening. View the sample in the kitchen itself, at different times of day, not only in a showroom.
Cost and how the project runs
Pricing depends on the material, the area and the complexity of the slab layout — matching marble veining, for example — so we quote every project individually after measuring, rather than from a price-per-metre list. Across 15+ years, 3 000 m² of our own production and more than 300 completed interiors, this is the stage that raises the most questions: it determines how the kitchen will look in five years, not just in the handover photographs.
From approved design to installation, a worktop and wall project usually takes 2-4 weeks, depending on the material and current production load. The process runs as follows: measuring on site to the millimetre, selecting the material and viewing a sample in real light, preparing the slab layout around the actual sockets and extractor, production, then installation and a check of every join. The earlier the wall enters the same project as the worktop, the fewer surprises at installation.
If you are planning a bespoke kitchen and are unsure which direction suits you, start with our short style-matching quiz — it will narrow the choice down before you sit with a designer.