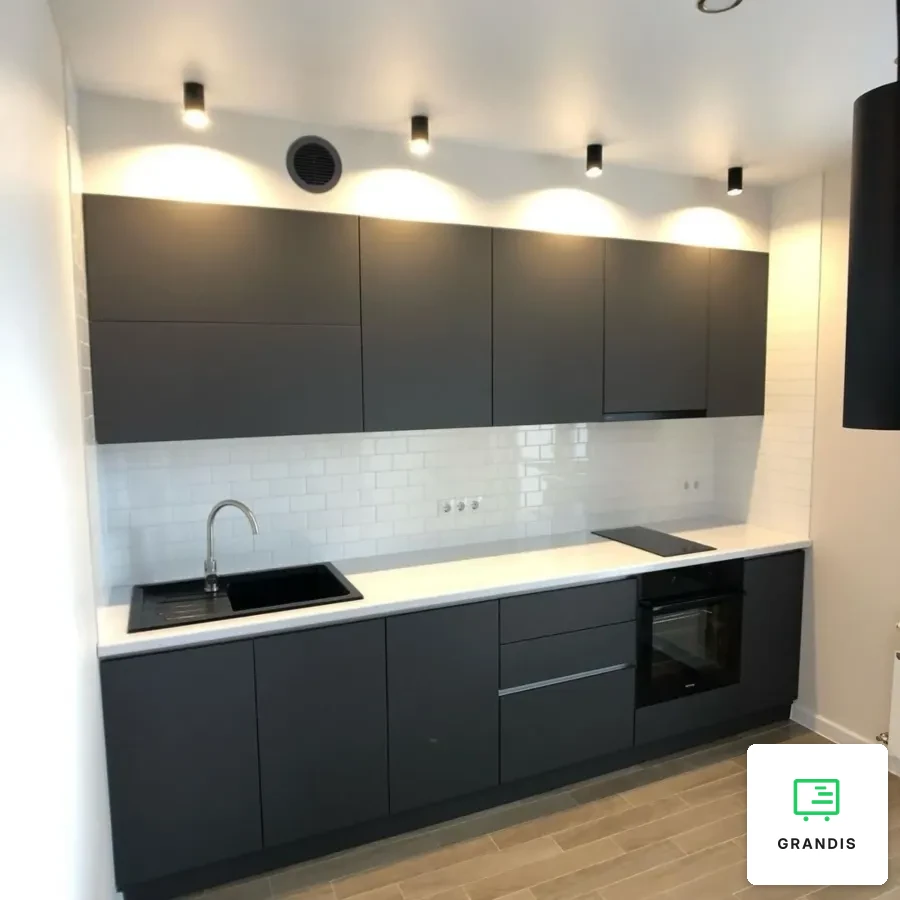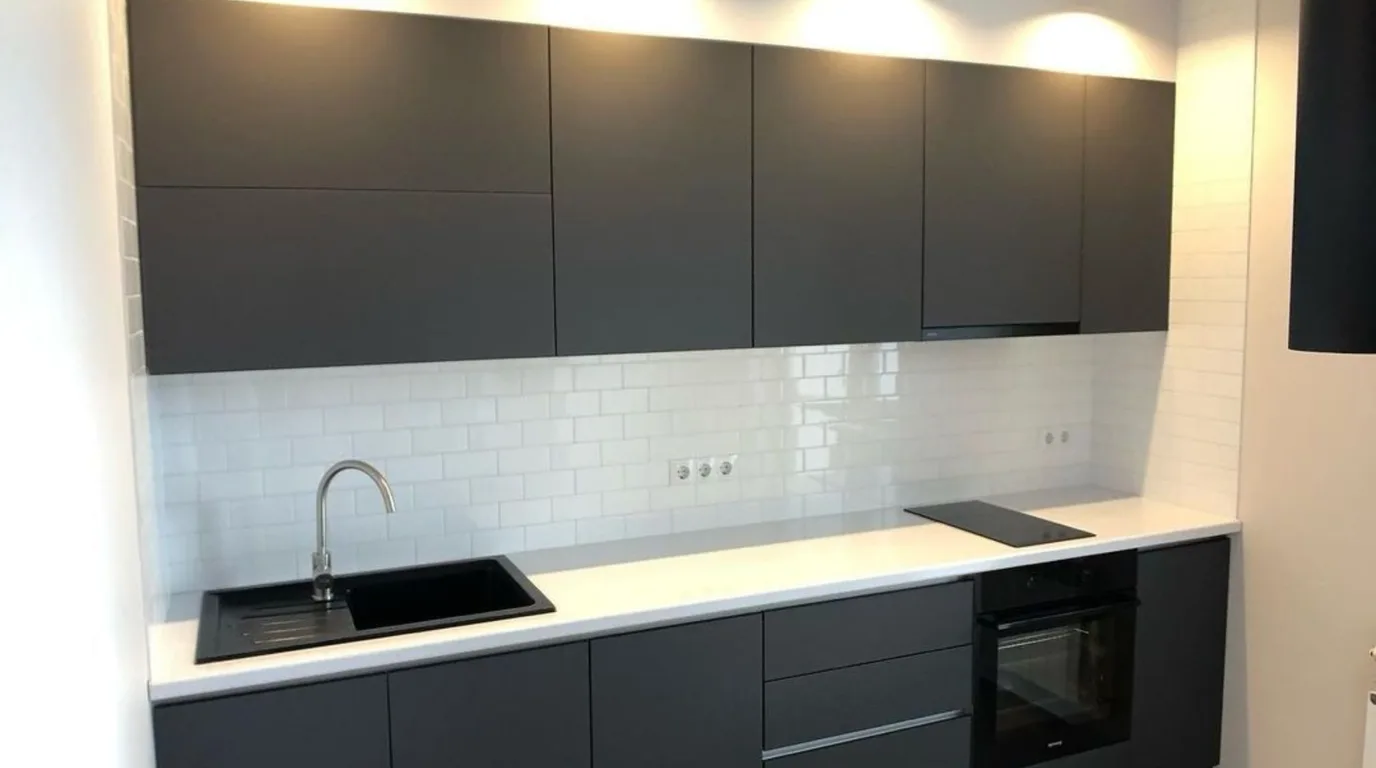
Kitchen handles are the choice when comfort comes first. You grab them with your whole hand, even a wet one, and on framed fronts they become part of the style. A handleless kitchen gives a smooth surface, but it must be decided before the carcasses are designed. Often a mix of both works best.
In this article
Kitchen handles are the choice when comfort comes first. You grab them with your whole hand, even a wet one, and on framed fronts they become part of the style. A handleless kitchen gives a smooth surface, but it must be decided before the carcasses are designed. Often a mix of both works best.
Handleless systems from one fittings manufacturer work with a 2.5 mm gap between fronts. With surface-mounted handles, what matters is the hole spacing, which you need to measure before buying. The main difference, though, is the order of work. A surface-mounted handle can be swapped in a few minutes. A gola-type handle profile is part of the carcass, so changing your mind after installation means rebuilding the cabinets.
Six ways to open kitchen fronts
There are six options. Two of them are visible on the front: a surface-mounted handle and an edge pull. The other four leave a smooth surface with no add-ons. These are a routed grip in the front, a profile in the carcass, a push-to-open mechanism and electric opening support. Each has its own place in the kitchen, so it is worth comparing them on the same criteria.
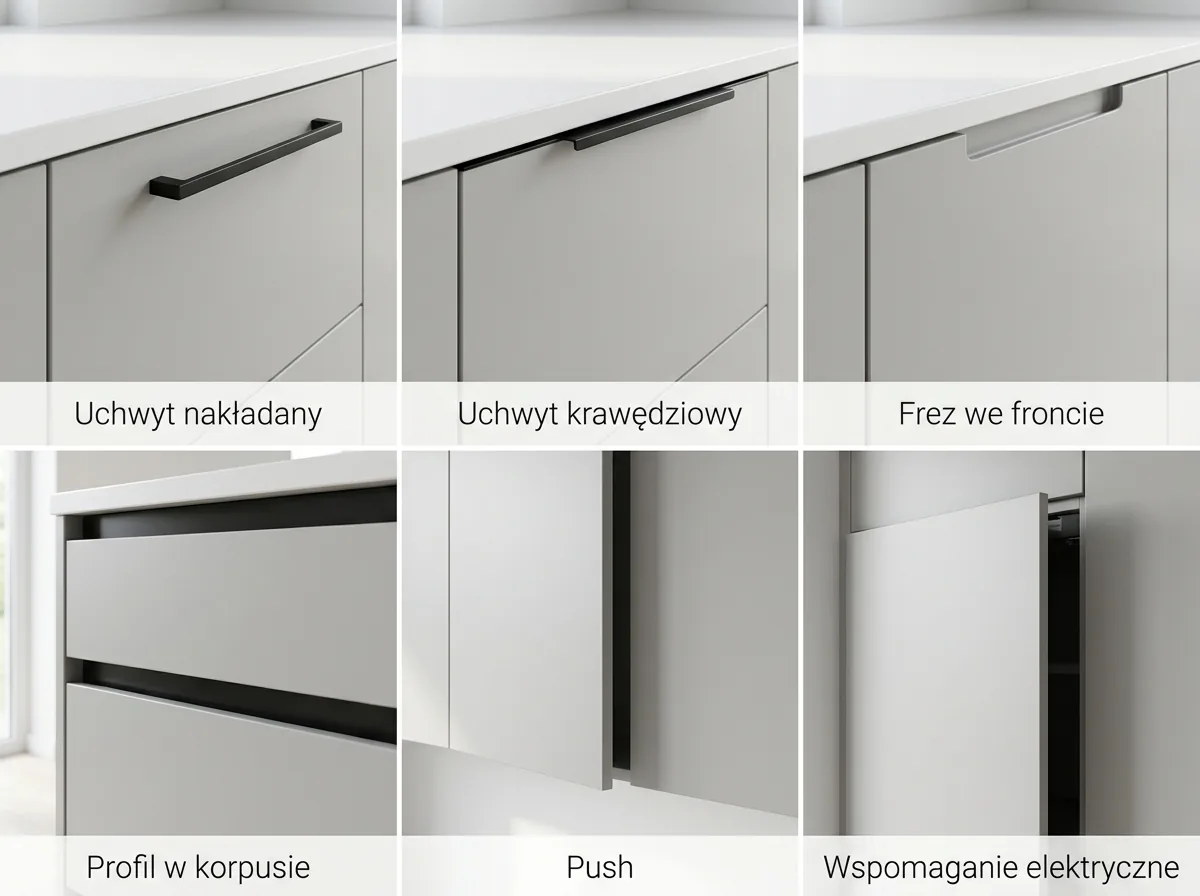
| Method | How it works | Where it works well | What to watch for |
|---|---|---|---|
| Surface-mounted handle (bar, rail, knob) | screwed to the front through holes | any cabinet, classic and heavy fronts | sticks out from the front, requires a set hole spacing |
| Edge pull | narrow profile on the top edge of the front | base units and tall units | small gripping area |
| Routed grip | finger recess cut into the edge of the front | fronts whose edge can be routed | shallow edge, thin material may chip |
| Handle profile in the carcass | horizontal or vertical channel between fronts; you grip the edge of the front | base units, kitchens open to the living room | the channel collects dust, requires precise installation |
| Push-to-open | a spring pushes the front out after a short press | wall units and rarely used cabinets | accidental opening, fingerprints at the press point |
| Electric opening support | an electric drive opens the front after a light press | drawers, fridge fronts | needs a power supply inside the cabinet |
In everyday speech, the handle profile is often called "gola". A mechanical and electric system from one fittings manufacturer covers lift-up wall unit fronts, cabinet doors and drawers. You open them with your hand, hip or knee. The electric version also works with fridge fronts.
Kitchen handles: types and hole spacing
Kitchen cabinet handles come as bars and rails, knobs, edge pulls and recessed models. Two measurements decide the purchase. The first is the hole spacing, the distance between the centres of the mounting holes. The second is the overall length of the handle. Mix these numbers up and the new handle will not fit the old holes.
On two-point handles, the overall length is greater than the hole spacing, because the bar extends past the holes on both sides. Two handles with the same hole spacing can therefore differ in length. When replacing handles, check which of these numbers the product description gives.
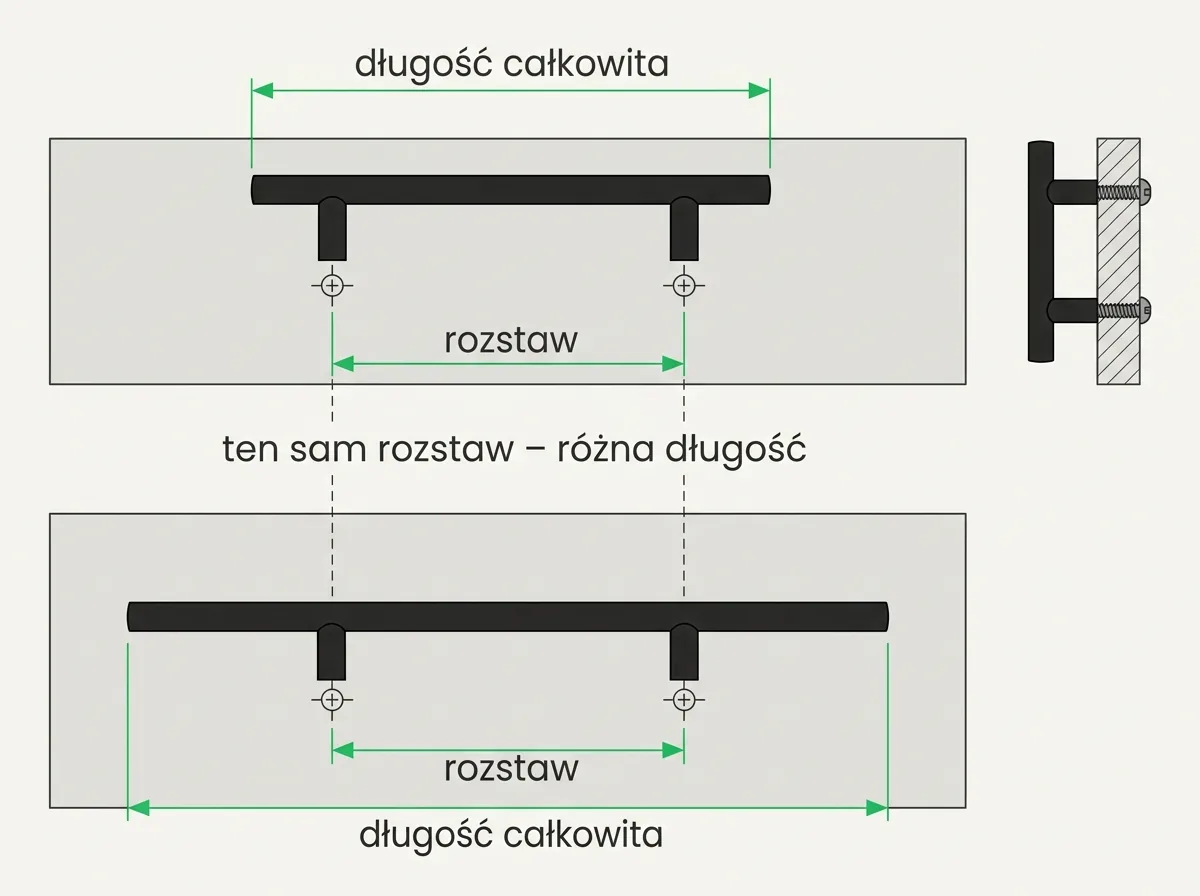
Measure the hole spacing before you buy. Unscrew one old handle and measure from the centre of one hole to the centre of the other. A new handle with the same spacing will fit the existing holes without drilling.
Handle direction follows the movement of the front. On drawers, the handle usually runs horizontally near the top edge. On cabinet doors, it stands vertically near the opening edge. Recesses in handleless fronts are placed in a similar way. On drawers they sit at the top or bottom of the front, on doors at the side.
Knobs work best on narrow drawers. We fit long bars on tall fronts, for example on a fridge in a tall unit. In our built-in hallway wardrobe project, long vertical handles are easy to grab at any height, for adults and children alike.
Handleless kitchen: profile, routed grip or push-to-open
A handleless kitchen covers three different techniques. The handle profile is part of the carcass. The routed grip is a cut in the front itself. Push-to-open is a mechanism inside the cabinet. They differ in durability, cleaning and what can be changed later.
A profile in the carcass forms a channel between the fronts. Your hand reaches behind the edge of the front, so the front itself carries no add-ons. This system needs precise installation on site, because the channel runs along the whole length of the units.
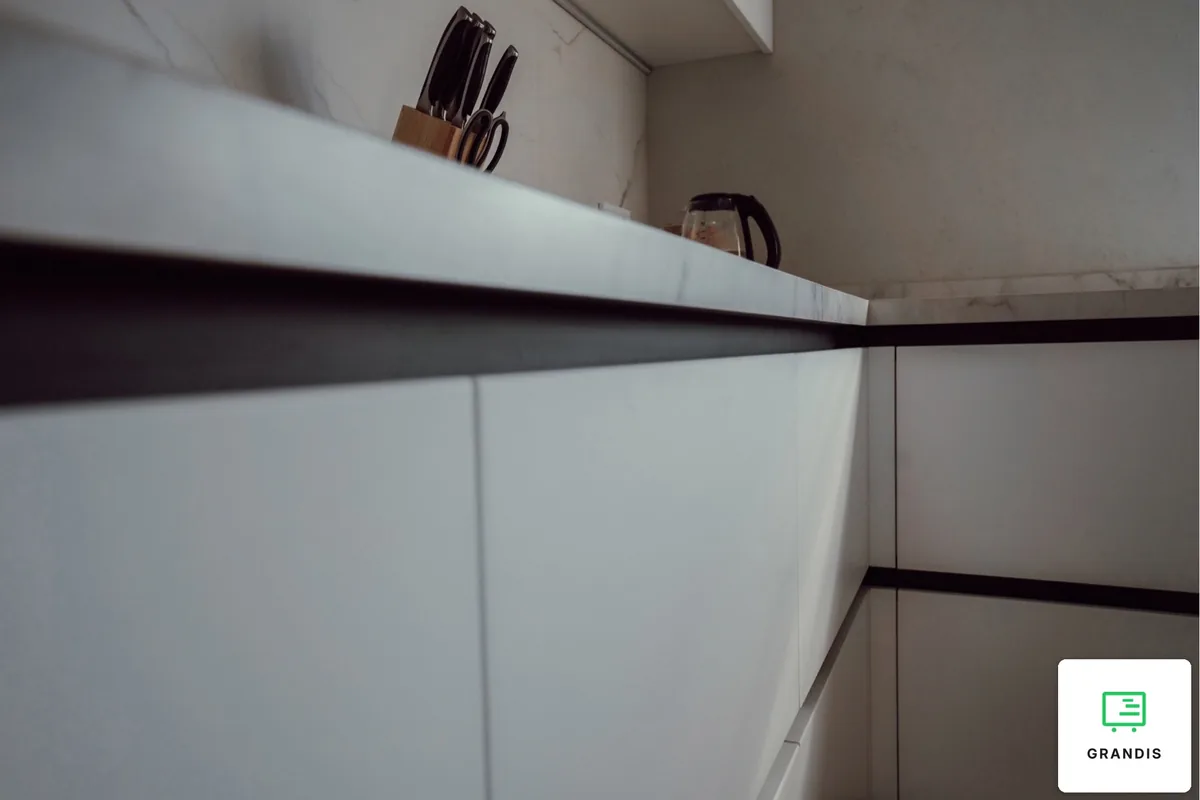
A routed grip needs no extra fittings, as the recess is cut into the edge of the front. It has two weak spots, though. The gripping edge can be shallow. Thin material behind the cut chips more easily.
A push-to-open mechanism ejects the front when pressed. Its weak side is accidental opening when someone leans against the cabinet. A basic push mechanism usually has no soft-close. Some systems, however, combine both functions in one fitting. So before buying, check what the specific fitting can do. We cover the mechanisms in more detail in our article on fittings and opening systems in the kitchen.
No push-to-open under the sink or by the bin. These fronts are often opened with a dirty hand or a knee. A press mechanism there ends in accidental opening, so a profile or handle works better in these spots.
Who at home will open these fronts
The choice depends more on the household than on style. Small children, older people, long nails and wet hands at the sink are four situations where a handleless kitchen needs careful thought. Walk through the kitchen in your head and check who opens each front, and with what.
Small children. Push-to-open responds to a light press, so a child can easily trigger it by accident. A profile or handle requires a deliberate hand movement.
Older people and weaker grip. Without a classic handle, opening fronts is harder for people with less hand strength. If someone at home has a weaker grip, choose a handle that opens with one hand, without pinching or twisting the wrist. A long handle you grab with your whole hand does this most easily. A shallow routed grip does it less well.
Long nails. The profile is hard to grip with long nails and easily breaks them.
Wet hands at the sink. A handle is touched in one place. A handleless front is touched at different points, so marks spread over the whole surface.
Fingerprints and cleaning
Without handles, your hand touches the front itself. Fingerprints show most on dark matte fronts and on gloss. Profiles add dust and crumbs in the channel. A handle gets dirty in one spot, but that spot is easy to wipe.
In daily use, the difference shows in cleaning. A profile on the wall units needs cleaning much more often than handles. A handle is gripped from the inside, so wiping it once a day is enough. With a profile, marks stay on the whole front.
The channel of a handle profile collects dust and crumbs, so it needs regular cleaning. A smooth front itself has two sides. A continuous smooth surface is easier to keep clean than a front with many elements. Yet the spots you press to open get dirty quickly and need frequent cleaning.
The front finish shifts this balance more than the opening method itself. We explain the difference between matte and gloss in our article on matte or gloss lacquer in the kitchen.
Combining both options in one kitchen
You do not have to choose for the whole kitchen at once. In several of our projects we combine a profile, an edge pull and a classic handle. Each goes where it works best. The deciding factors are how often a front is opened, how heavy it is and whether the kitchen is visible from the living room.
In a gloss kitchen with dark wood, the wall units have no handles. The drawers open by a black horizontal profile. The fridge in a tall unit has two fronts with long black handles. We made the lower row in light grey matte, because those fronts are touched most often and fingerprints show less.
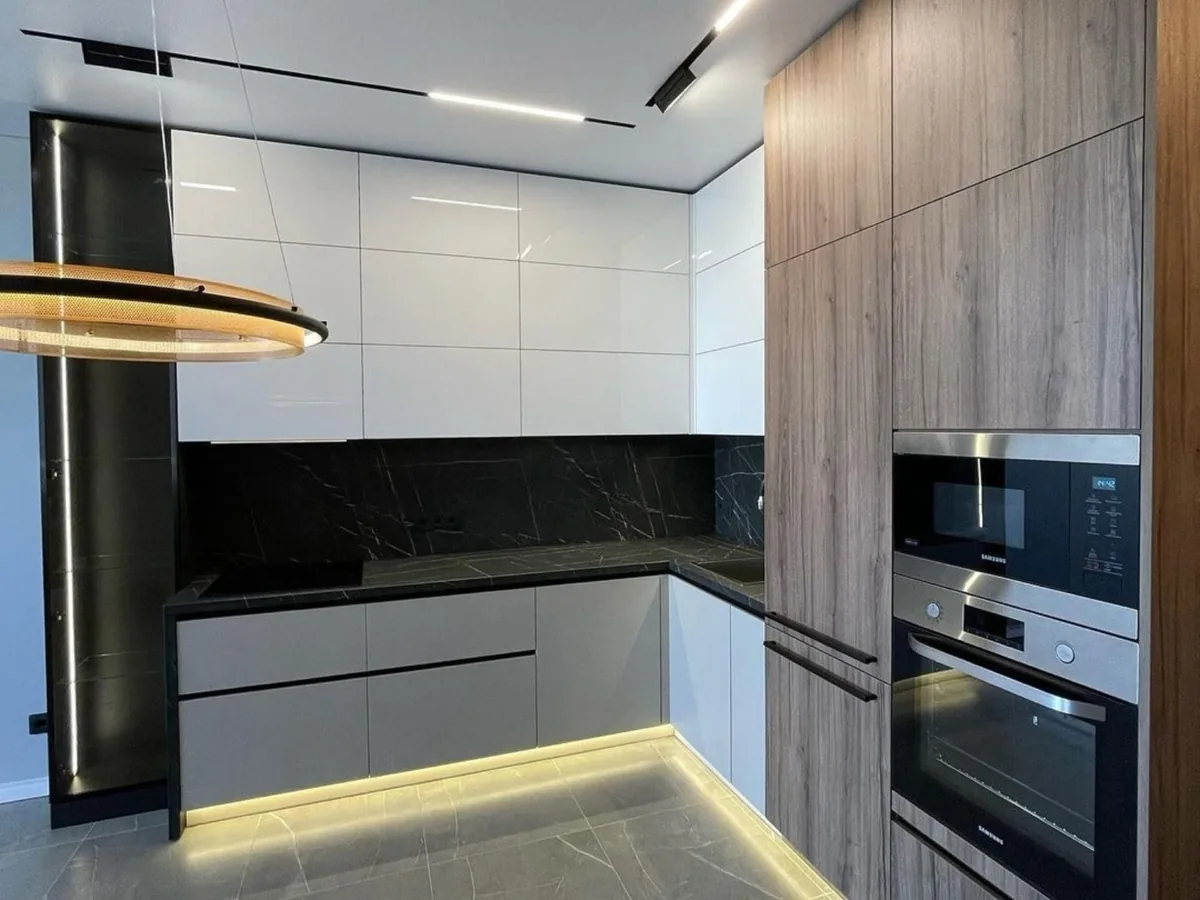
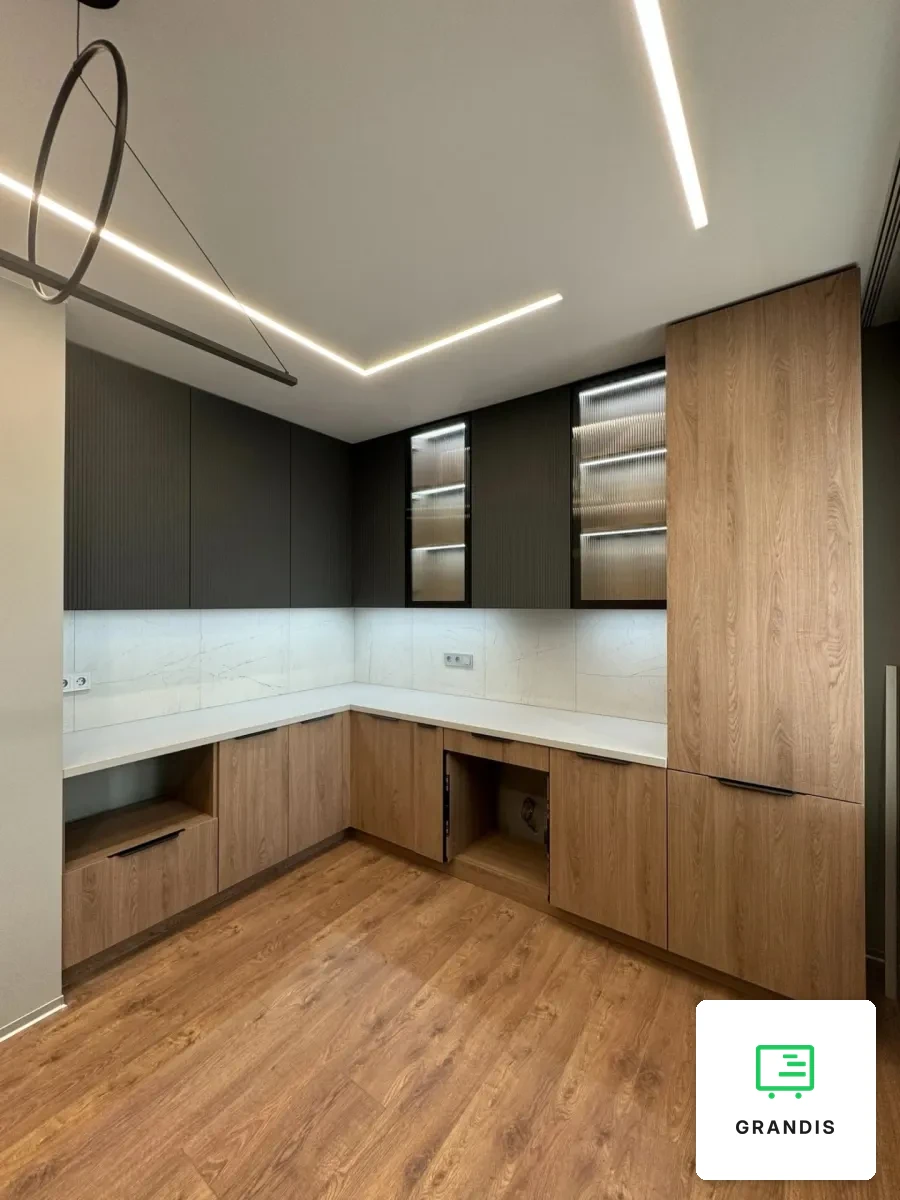
In a graphite and oak kitchen, the wall units are matte and handleless. The base fronts have a narrow black edge pull at the top. It is barely visible, and the front opens comfortably.
In a single-row graphite kitchen, the drawers open by a horizontal aluminium profile and the wall units by their lower edge. The kitchen joins the living room. The front stays a flat surface and nothing catches on clothing.
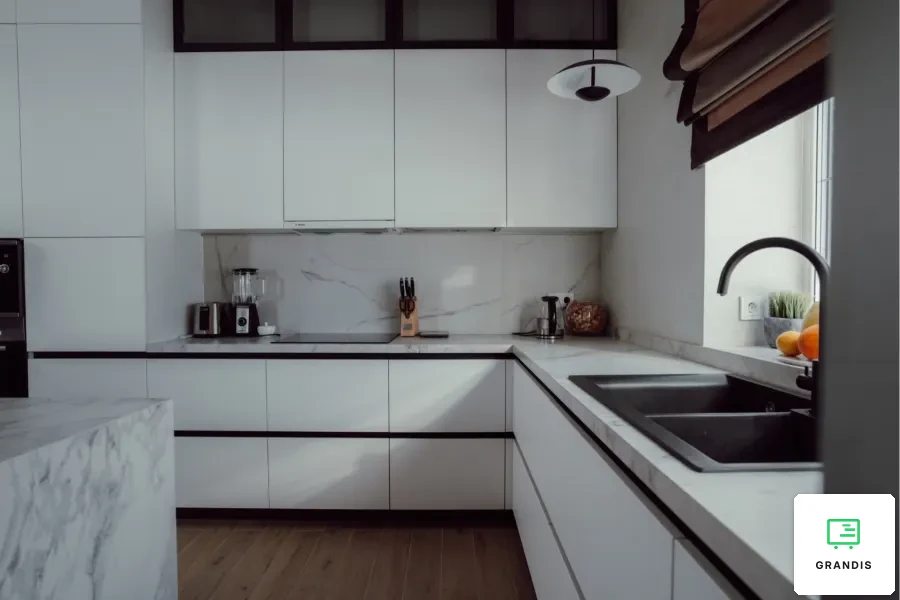
A white neoclassical kitchen shows the opposite direction. The fronts are routed with a frame, and black handles together with the sink and tap tie the light units into one line. On fronts like these, the handle is part of the style.
The easiest way to compare such options is on a plan of your own kitchen. You can book a meeting with our expert and a free measurement through a short quiz.
When to decide and what drives the cost
The decision on a handle profile is made at the carcass design stage. Surface-mounted handles can be chosen at the very end and changed years later. Push-to-open can sometimes be added later, depending on the fitting. The cost depends mainly on the number of fronts and the chosen system.
Plan the profile together with the carcass. A handle profile is built into the cabinet. If you want to switch from handles to a profile after installation, the carcasses have to be rebuilt. Replacing the fronts alone will not do it.
Going the other way is simpler. Handles can be screwed onto smooth fronts, but the holes stay for good. A push mechanism can sometimes be fitted into an existing cabinet. It depends on the specific fitting and on whether there is room for it inside. The electric version needs a power supply in the cabinet. Plan the socket with an electrician before the furniture is installed.
In a custom kitchen, the cost of opening the fronts depends on four things.
- The number of fronts and drawers. Each front needs its own handle or mechanism.
- The system. A profile needs extra components and precise alignment of the cabinets. Push-to-open means a mechanism in every front. Electric support also means a power supply.
- The handle model. The same hole spacing comes in plain bars and in designer models.
- Integrated appliances. Dishwasher and fridge fronts need their own opening solution.
We give the exact amount after a free measurement, in a quote attached to the design with visualisation. The price is written into the contract.
If you would like to see both options on a plan of your own kitchen, start with a short quiz. More about how we work is on the custom furniture for the home page.
This article is for information only and describes solutions as of October 2026. Wiring for powered opening support should be done by a qualified electrician.
Frequently asked questions
Is a handleless kitchen practical for everyday use?
Yes, if the technique matches the spot. A handle profile works well in base units, push-to-open in wall units and rarely used cabinets. Under the sink and by the bin, a profile or handle works better. Expect to wipe the fronts and the profile channel more often.
How do I measure the hole spacing of a cabinet handle?
Hole spacing is the distance from the centre of one mounting hole to the centre of the other. The simplest way is to unscrew the old handle and measure the holes in the front. The overall length of the handle is greater than the hole spacing. Handles with the same holes can differ in length.
Can push-to-open be fitted in an existing kitchen?
Sometimes, but it depends on the specific fitting and the space in the cabinet. Some systems combine push-to-open with soft-close, others do not. So before buying, check whether the chosen fitting has both functions and which fronts currently have soft-close.
Can handles be added to smooth fronts later?
Yes, but it means drilling holes in the fronts, and those holes cannot be hidden afterwards. Going the other way is harder. A handle profile is part of the carcass, so it cannot be added without rebuilding the cabinets.
How do you open the dishwasher and fridge in a handleless kitchen?
Integrated appliance fronts need a separate decision at the design stage. They can open by a profile, a handle or electric opening support, which also works with fridge fronts. In one of our kitchens, the fridge in a tall unit has long handles, although the rest of the units have none.
Is a handleless kitchen a good idea with small children?
A child can easily trigger push-to-open by accident, because a light press or leaning on the front is enough. A handle profile requires a deliberate hand movement. In a family with small children, it is better to limit push-to-open to wall units. Base units are better off with a profile or handles.
Vertical or horizontal handles?
On drawers, the handle is usually mounted horizontally near the top edge. On cabinet doors, it stands vertically near the opening edge. On tall units, a long vertical handle lets you grip the front at different heights.
Which handles suit framed routed fronts?
Classic framed fronts usually get visible surface-mounted handles: knobs or bars in a colour repeated elsewhere in the kitchen. In our white neoclassical kitchen, the black handles match the sink and tap. A handle profile rarely suits this style.
A push-to-open front no longer works. What should I do?
First check the gap between the front, its neighbours and the carcass. The mechanism needs free space to push the front out. The fitting manufacturer's instructions describe how to adjust it. If adjustment does not help, report the fault to whoever made the kitchen.