Custom shop fittings go through five stages: brief and site survey, 3D design with a cost estimate, production, installation and handover with an acceptance report. A well-prepared brief saves the most time and money: floor plan, brand book, product range with weights and dimensions, and the store’s opening hours. Large projects can be installed outside opening hours, and dates and price are set in the contract.
In this article
- What are the stages of a custom shop fitting project?
- What should you prepare for a shop fit-out brief?
- How do you zone a sales floor before ordering furniture?
- Shelving, display cases, counters: what should be made to measure?
- Which materials can handle the wear of a store?
- Modular or fixed fit-out: which to choose?
- How do you install fixtures without closing the store?
- How much does a shop fit-out cost and how long does it take?
- Frequently asked questions
For a store to open on time and run without rework, custom shop fittings are planned backwards: first the products and the customer journey, then the zones, and only then the shelving, display cases and counters. Below you will find the five project stages, a brief checklist, a table of materials matched to real-world wear, and how to install the fit-out without closing the store.
This is a practical follow-up to two of our retail articles. In the piece on modular shopfitting we showed how to rebuild a sales floor overnight, and in the one on retail zone scenography how lighting and podiums turn a product into an exhibit. Here we tackle a more down-to-earth question: what exactly to do so that the project runs from the first meeting to opening day without surprises.
What are the stages of a custom shop fitting project?
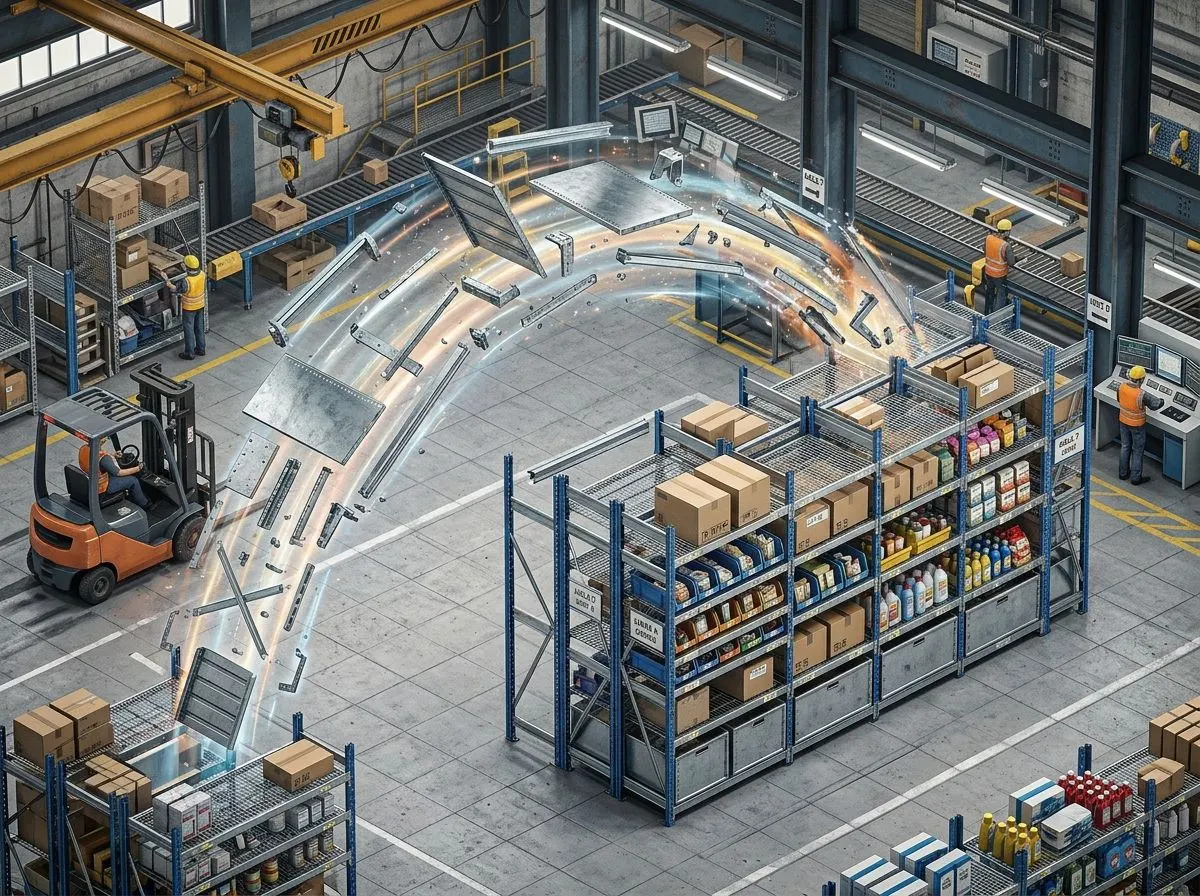
We run retail projects to one scheme — for a single showroom and for a chain alike. The client has one project manager throughout, and design, production and installation are handled by one company. For a chain's expansion team this means no juggling of several contractors and no arguing over who is responsible for a mismatch.
- Brief and brand identity. We review the concept, brand book, product range and layout, and come on site to measure.
- 3D design and cost estimate. We present a visualisation of the fixture layout, technical drawings and a materials specification. The estimate, with a VAT invoice, is approved before production starts.
- Production. Metalworking, woodworking, powder coating and finishing — with quality checks at every stage.
- On-site installation. Delivery and assembly by our own crew, with no subcontractors.
- Handover and roll-out. We sign the acceptance report and hand over the documentation. For chains, we replicate the same modules across further locations on a single schedule.
The key rule: production starts only after the design has been approved in writing. During the 3D stage you can change anything — heights, number of shelves, colours, layout. Once boards are cut and metal is bent, every change means a new batch of material and a new deadline.
What should you prepare for a shop fit-out brief?
The brief is the cheapest stage of the project — and the most expensive one if you skip it. The more precise the input data, the fewer iterations at the 3D stage and the less often something has to be redone on the sales floor. Here is what is worth gathering before the first meeting.
- Floor plan with dimensions, windows, doors, columns, and the position of sockets and ventilation. If there is no plan, we will draw one up during the site survey.
- Brand book or concept: colours, materials, logo, typefaces. For chains — photos or drawings of the reference store.
- Product range: which products, how many per shelf, their dimensions and approximate weight. This determines shelf depth, perforation pitch and material.
- Product groups by priority: what sells best, what must be visible from the entrance, what customers buy on impulse at the till.
- Checkout scenario: how many workstations, whether a packing table is needed, online order pick-up, space for the terminal and scanner.
- Fitting rooms: how many cubicles, whether an accessible larger cubicle is needed, what lighting and mirrors.
- Back room and storage: how much stock is kept on site and how it reaches the sales floor.
- Landlord requirements: the shopping centre's fit-out rules, access hours, design approval by the property manager.
- Opening date and schedule constraints — we build the production and installation plan around it.
- Budget range: even a rough one, so we can suggest suitable materials right away instead of redrawing the design.
The easiest way to share all this is the business brief form: you can attach the layout and brand book, and the project manager will clarify anything missing at the meeting.
How do you zone a sales floor before ordering furniture?
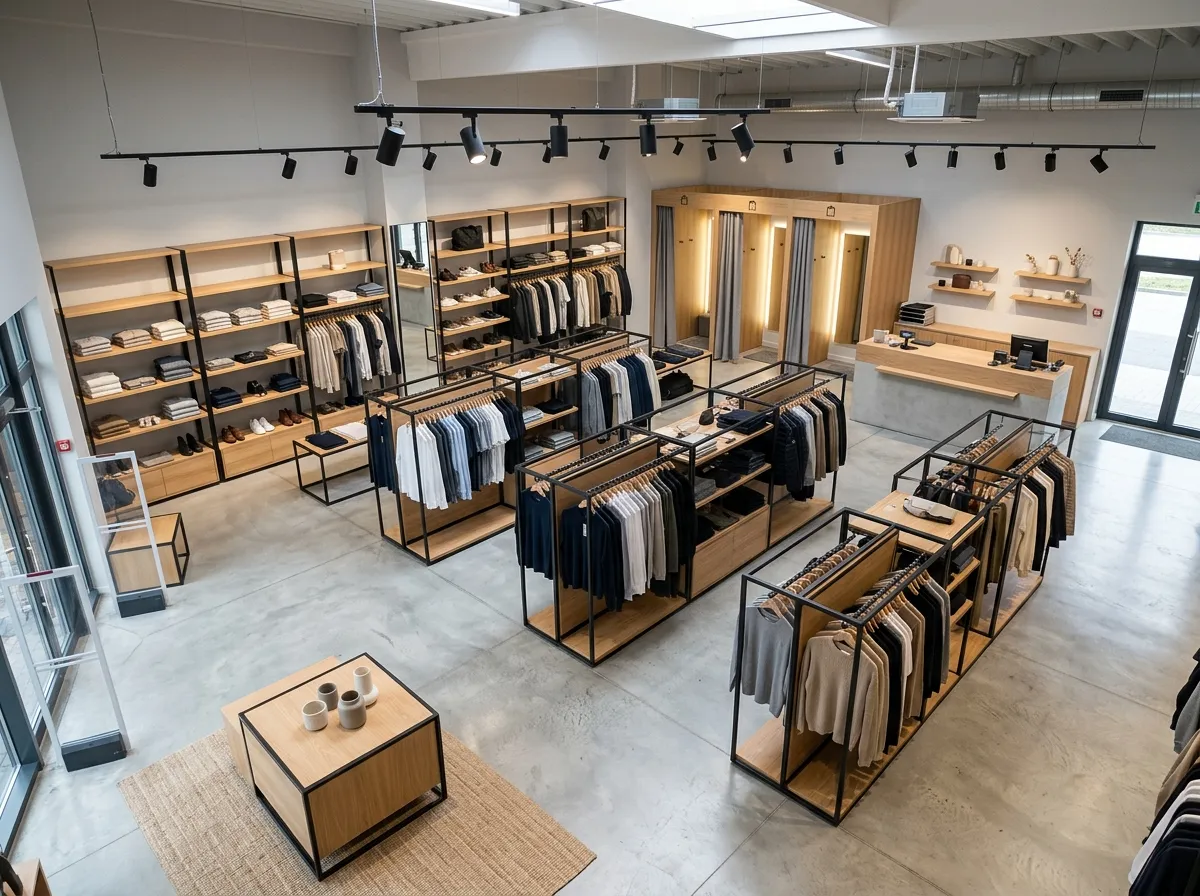
Furniture is designed around zones, not the other way round. If you first order shelving “around the perimeter” and only then think about where the till will go, you almost always lose floor space and the customer journey becomes chaotic. We start with a simple floor diagram showing where people enter, where they slow down and where they pay.
Entrance zone
During the first few steps in a store, customers adjust to the space and barely look at the shelves. Low islands and podiums with new arrivals or a seasonal collection work better here than densely packed shelving. Tall fixtures by the entrance block the view of the floor and make the store feel cramped.
Main floor and focal points
Along the walls — wall shelving with the core range; in the centre — freestanding racks and islands that divide the floor into clear product groups. One or two spots are worth highlighting as focal points: lighting, a different material, a raised platform. For more on building such Hero zones, see our article on retail zone scenography.
Checkout and service zone
The till should be visible from most of the floor and must not block the exit. Space for a queue is left in front of it, with shelves for impulse purchases alongside. We check aisle widths across the whole floor against fire safety and accessibility requirements for wheelchair and pushchair users — this is built into the design, not solved during installation.
Fitting rooms and back room
Fitting rooms go at the back of the floor, so customers walk past the products, yet stay within staff line of sight. The back room is designed together with the sales floor: if storage shelving differs in depth from the retail shelving, restocking turns into shifting goods from one box to another.
Shelving, display cases, counters: what should be made to measure?
Off-the-shelf shop fixtures work when the unit is rectangular and the product range is standard. As soon as the floor has columns, recesses, sloping walls or unusually shaped products, custom shop furniture (meble sklepowe na zamówienie) wins — furniture made for specific dimensions and a specific merchandising layout.
Shelving
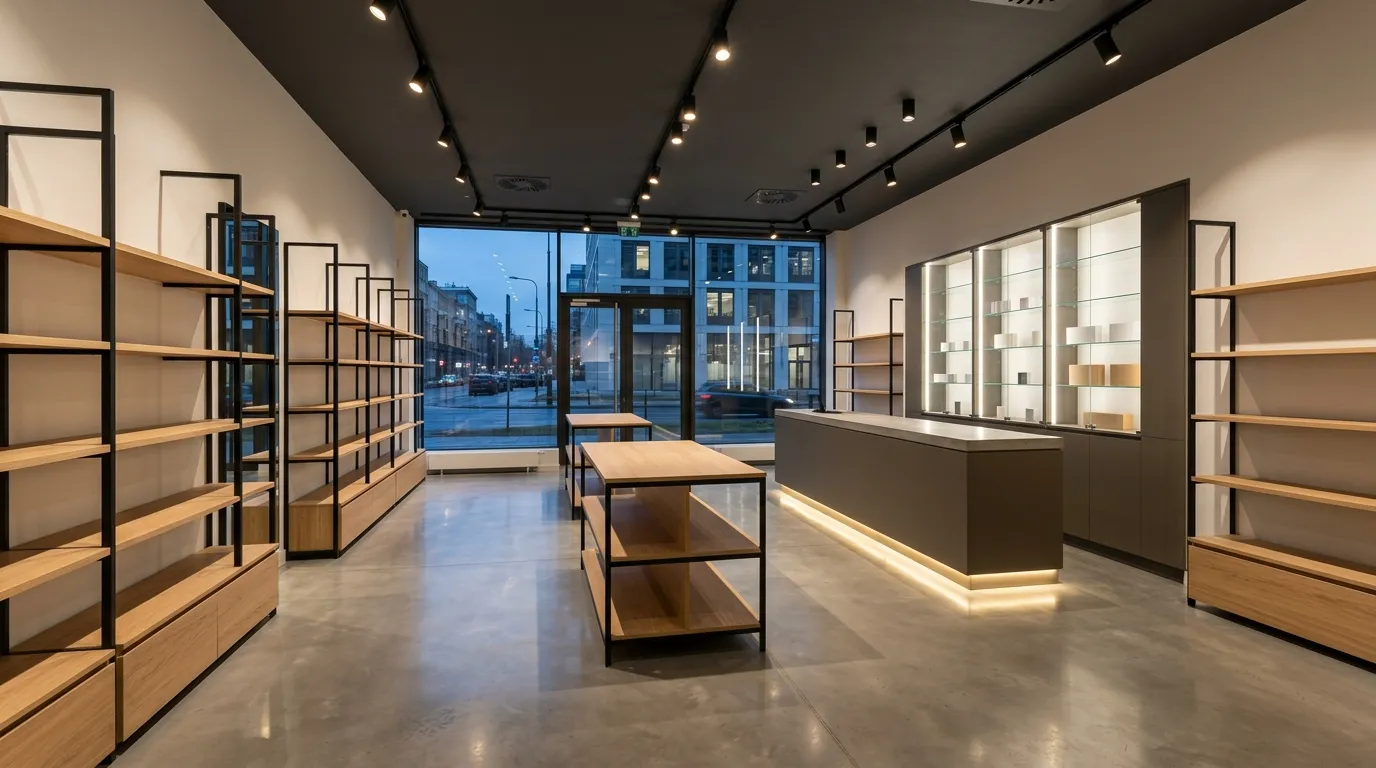
Made-to-measure shelving (regały sklepowe na wymiar) covers the wall from floor to the required height with no empty gaps and allows for wall irregularities revealed by laser measurement. We make wall-mounted and freestanding shelving, loft-style metal structures, clothing racks and rails, and display units designed for a specific product range. The key decision is shelf load: it is calculated for the real products from the brief, not “with a margin by eye”.
Display cases
Display cases and showcase cabinets are needed for expensive or small items: jewellery, electronics, cosmetics. What matters here is tempered glass, concealed lighting, locks and easy staff access from the floor side or from the back. Lighting is designed from the outset, otherwise cables will have to be hidden after installation.
Counters and checkout
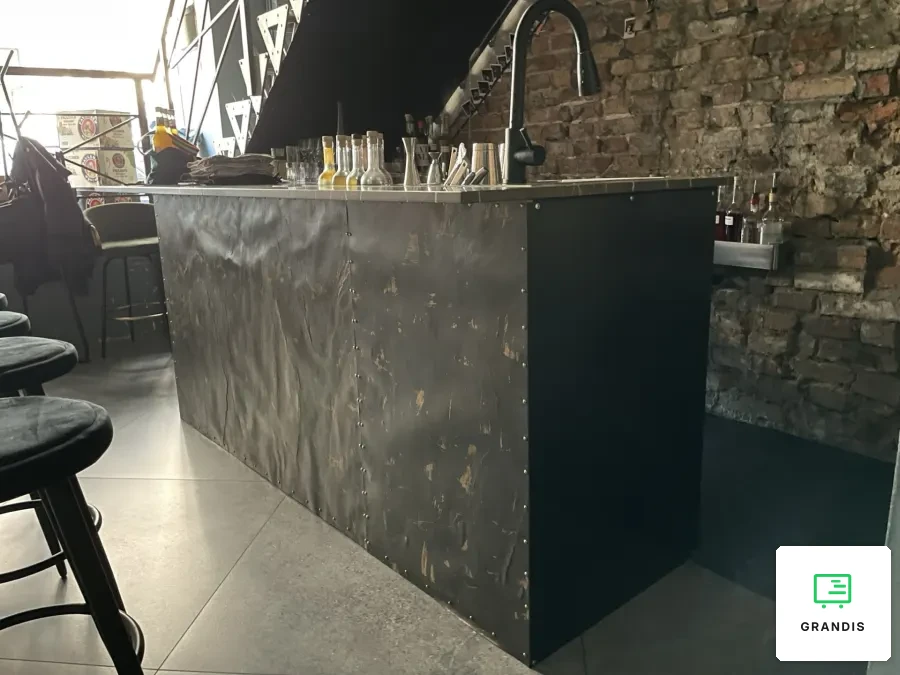
The counter is the hardest-working element of a store: people lean on it, goods are slid across it, and it houses the terminal, printer and cash drawer. A made-to-measure counter (lada sklepowa na wymiar) is designed around the specific checkout equipment and number of workstations, with concealed cable ducts and shelves for bags. The front panel is often branded — with a logo and lighting.
Fitting rooms
A fitting room consists of a frame, doors or curtains, mirrors, hooks, a bench and lighting that does not distort the colour of clothes. The structure has to withstand constant opening and leaning, so hardware and fixings here are chosen not from a catalogue but for heavy-duty use.
Which materials can handle the wear of a store?
Shop fixtures work differently from home furniture: hundreds of touches a day, trolleys, cleaning every evening, constant restocking. That is why the material is chosen for each specific element and its load. We coordinate metal and joinery within a single project, so combining both in a single piece is simpler than when working with separate suppliers.
| Fixture element | Material | What it affects |
|---|---|---|
| Shelving frame | Powder-coated steel | Shelf load, stability, resistance to trolley impacts |
| Shelves | Laminated board, MDF or metal | Permissible product weight, deflection, scratch resistance when restocking |
| Counter top | HPL, quartz composite or solid surface | Wear from daily friction, resistance to stains and cleaning agents |
| Counter front | Veneer, RAL/NCS lacquer, metal | Brand book compliance, perceived store standard, option to refresh the finish |
| Display case | Tempered glass, aluminium or steel profile | Safety, product visibility, theft protection |
| Podiums and islands | Board with high-resistance edging, solid wood | Impact resistance of corners, appearance after cleaning |
| Fitting rooms | Metal frame, laminated board, upholstery fabric with a suitable abrasion rating | Durability under constant use, ease of maintenance |
| Back room and storage | Metal shelving, laminated board | Capacity, speed of restocking the floor |
All boards, hardware and lacquers are certified materials from European suppliers; on request we provide certificates for building acceptance. European-grade hardware is selected for front weight and frequency of use, not for the lowest price.
Craftsman’s tip: do not skimp on edging and corners. In a store, it is not the shelves that give out first but the ends of islands and the lower parts of counters — they get knocked by trolleys, boxes and mops. A metal plinth or reinforced edging at the bottom costs little but keeps the floor looking good noticeably longer.
Modular or fixed fit-out: which to choose?
For a chain with frequent collection changes, it makes sense to build the fit-out on repeatable modules with standard fixing points — we covered this approach in detail in our article on modular shopfitting. For a flagship store or a showroom with a permanent display, a fixed fit-out is justified: built-in shelving, wall cladding, a counter as part of the architecture.
In practice, a mixed approach most often wins. The checkout, fitting rooms and wall cladding are fixed, while the sales floor runs on modules that can be rearranged for each season. This decision is made at the brief stage, because fixings, lighting wiring and budget depend on it. For chains, we standardise the concept and produce identical fixtures for further locations, controlling colours, materials and dimensions.
How do you install fixtures without closing the store?
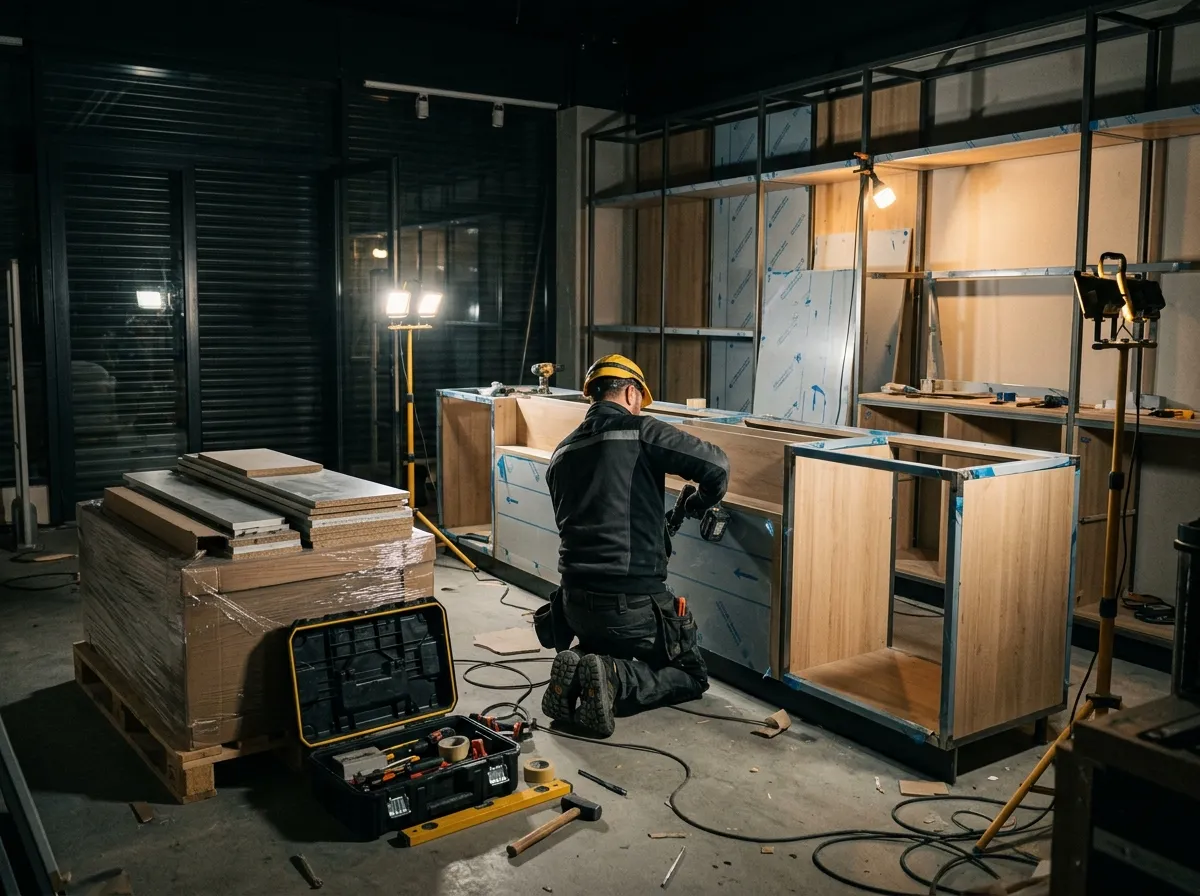
In a new store, installation takes place in an empty unit to an agreed schedule. It is harder in a trading store — when replacing fixtures or rebuilding part of the floor. Several proven methods help here.
- Installation outside opening hours. We install large commercial projects in stages, often outside the store’s opening hours, including at night, so as not to disrupt sales.
- Splitting into sections. The floor is divided into parts: while one is being fitted, the rest keep trading.
- Pre-assembly in advance. Everything that can be assembled and checked before going to site is assembled in advance — on site, only positioning and connection remain.
- Coordination with the shopping centre. Access hours, delivery entry and rules for noisy work are agreed in advance and written into the schedule.
Installation is carried out by our own in-house crew, who work with our structures every day. If something on site needs adjusting, it is sorted out straight away. After installation, the crew removes packaging and waste, then walks the floor with the client and signs the acceptance report.
How much does a shop fit-out cost and how long does it take?
There is no universal price per square metre of sales floor: we fit out stores from 50 to 5 000 m², and the budget depends on the number and type of elements, materials, finishes and installation complexity. We prepare an exact estimate after the site survey and the 3D design — before that, any figure would be guesswork.
What is worth knowing up front:
- the price in the signed contract does not change — only if the client extends or changes the scope;
- production and installation dates are set in the contract before production starts;
- we work with companies under a contract with a stage schedule and issue a VAT invoice;
- the warranty ranges from one to five years depending on the type of fixture and conditions of use, and its term is stated in the contract.
Find out more about our approach to commercial projects on the furniture for business page, and see stores and chains we have fitted out in our retail fixtures portfolio.
Frequently asked questions
How do I start ordering shop fixtures?
With a brief: floor plan, brand book, product range and the target opening date. Then we come to measure the site and prepare a 3D design with a cost estimate. Production starts only after the design has been approved in writing.
Can fixtures be installed without closing the store?
Yes. For large projects we plan installation in stages, often outside opening hours, including at night. We split the floor into sections and do as much assembly as possible in advance. The exact schedule is agreed with you and with the shopping centre management.
Do you make fixtures for store chains?
Yes. We standardise the concept according to the brand book and produce repeatable modules for further locations on a single roll-out schedule. We control colours, materials and dimensions so that every store matches the reference.
What is the lead time for custom shop furniture?
It depends on the scope, materials and number of locations, so we set specific production and installation dates in the contract before work begins. If your opening is tied to a lease date, include it in the brief — we will build the schedule around it.
Planning a new store or a refresh of your sales floor? Fill in the business brief: attach the layout and brand book, and we will prepare a 3D design, cost estimate and production and installation schedule.