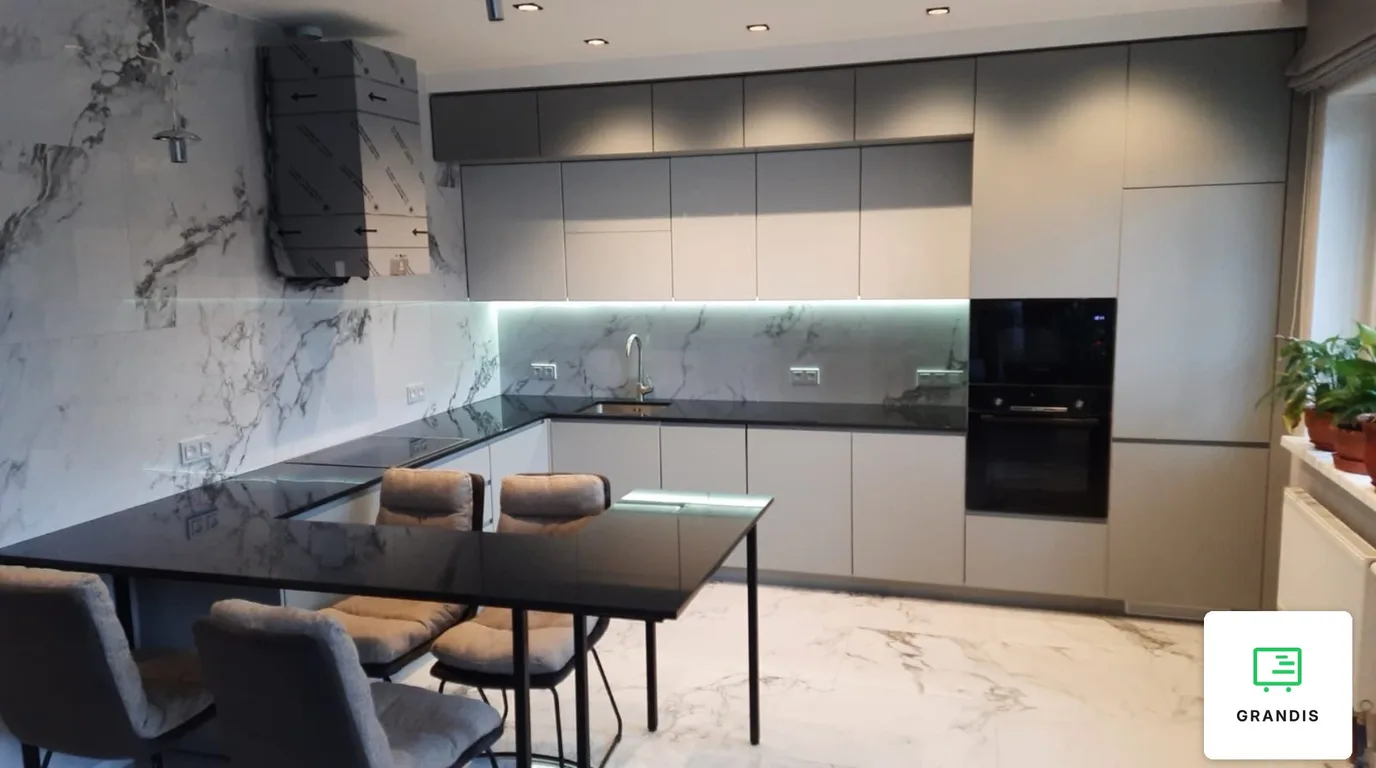
An HPL compact worktop is a solid slab of high-pressure laminate, most often 12 mm thick, with no chipboard inside. It does not mind water, is approved for contact with food, and lets you fit an undermount sink. Its weak points are hot pans placed straight on the surface and the need for precise machining in the workshop.
In this article
- What a compact worktop is and how to recognise it
- Compact worktop vs laminate on chipboard
- Where a thin worktop works and where it does not
- Supports, overhangs and islands
- Sink, hob and drainer grooves
- What to settle before ordering an HPL compact worktop
- Daily care, stains and scratches
- Frequently asked questions
An HPL compact worktop is a solid slab of high-pressure laminate, most often 12 mm thick, with no chipboard inside. It does not mind water, is approved for contact with food, and lets you fit an undermount sink. Its weak points are hot pans placed straight on the surface and the need for precise machining in the workshop.
A thin worktop is less forgiving than a thick one. In practice there are clear limits: supports no more than 600 mm apart, an overhang of about 50 mm without extra framing, and cut-outs with rounded corners. You need to know these figures before ordering the cabinets. They decide whether a compact top lasts for years or cracks at the first cut-out.
What a compact worktop is and how to recognise it
A compact slab is made of many layers of resin-impregnated paper pressed at high pressure and high temperature. The resin cures permanently, so there is no wood inside that could swell. The density of the material is at least 1,350 kg/m³, and 1,400 kg/m³ for some slabs. For a kitchen worktop 12 mm is the usual choice, and 10 and 12.5 mm slabs are also available. Still, the name HPL does not mean every slab has the same properties. What counts is the specific slab and its technical data.
A compact top is easy to tell apart from an ordinary laminate worktop. Just look at the edge. A compact slab shows a solid core in one colour, usually black, grey or white. On a laminate worktop the edge is a banding strip with chipboard underneath.
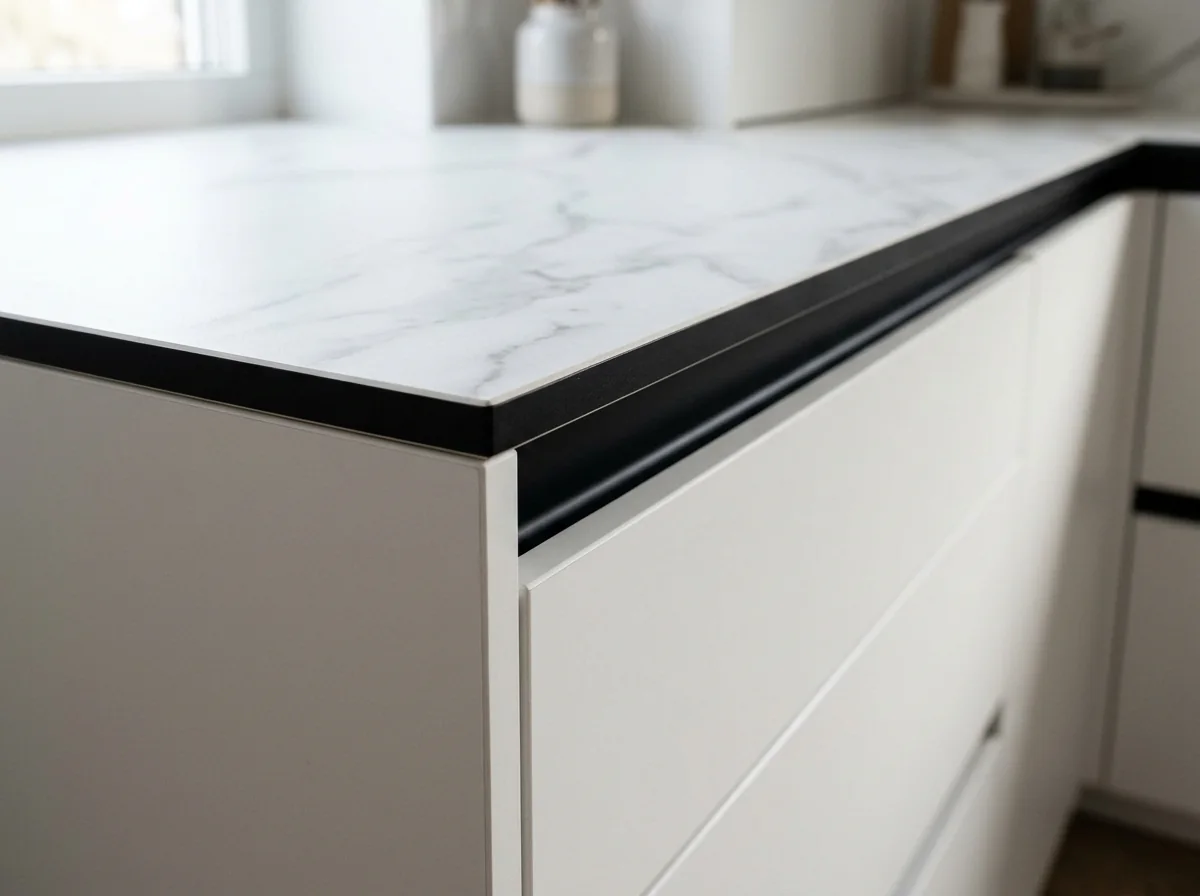
The core colour matters in practice. Slabs with a grey core can be slightly harder and more brittle than those with a black core. They also warp more with changes in temperature and humidity. The core shows on every edge, at the sink cut-out and in the drainer grooves, so its colour is chosen together with the decor.
The surface is approved for contact with food. You should not cut directly on it, though.
Compact worktop vs laminate on chipboard
Both worktops have laminate on top, but they behave differently around water, cut-outs and installation. The difference comes from their build. A compact slab is the same material through its whole thickness. A laminate worktop is chipboard with a thin decorative layer and edge banding.
| Criterion | HPL compact worktop | Laminate worktop on chipboard |
|---|---|---|
| Thickness | most often 12 mm | usually thicker than compact |
| Core | solid laminate, colour visible on the edge | chipboard under the banding |
| Water at the sink and joints | the core does not absorb water | edges and joints need careful sealing |
| Machining | carbide or diamond tools, ideally a CNC machine | standard woodworking tools |
The table gives a simple rule. Compact pays off where a thin line, a wet zone and an undermount sink matter. Laminate wins when the kitchen should be easy to install and easy to alter years later. A third option is quartz composite with a stone look.
Where a thin worktop works and where it does not
Compact looks best in a minimalist kitchen, where the thin edge is part of the design. It copes well with the sink area because water has nowhere to soak in. The worktop and the splashback can be cut from the same slab, so the wall and the work surface share one decor. Ideas for the wall above the worktop are in a separate article.
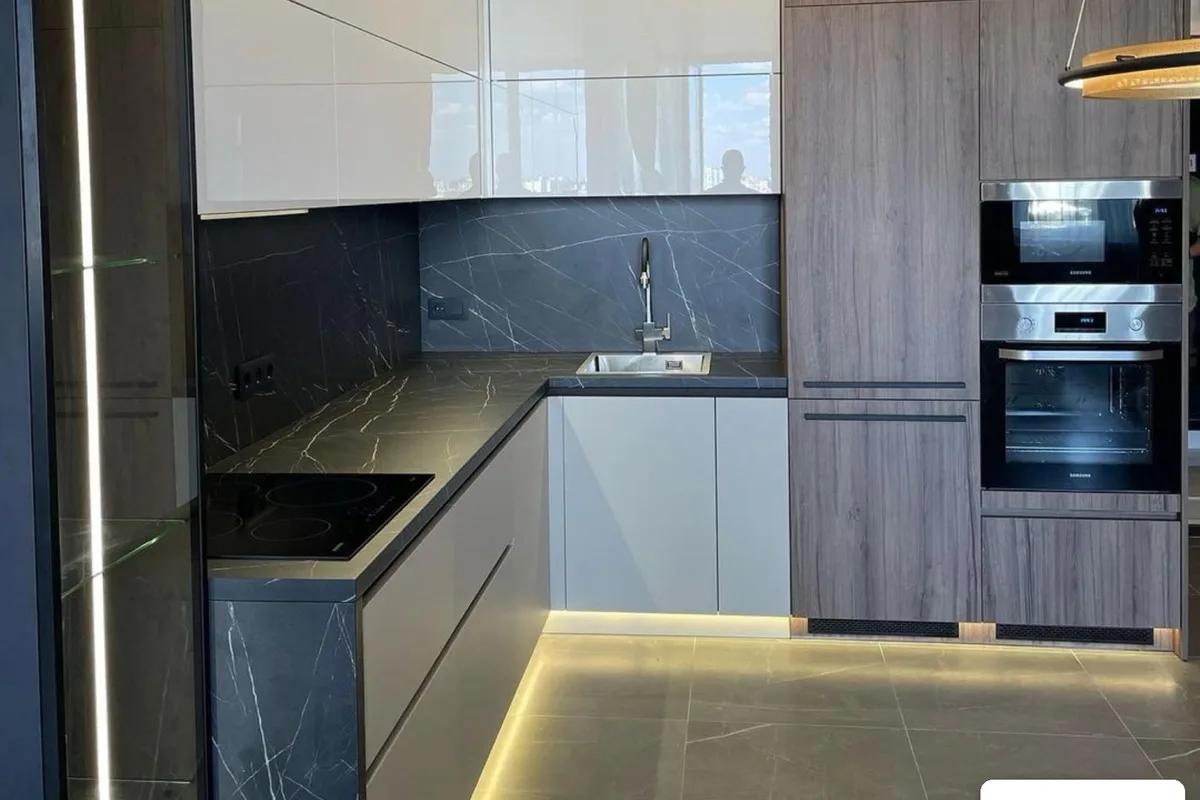
The decor affects how the worktop will look after a few years. The rougher the texture and the lighter the colour, the better the scratch resistance. Smooth and dark surfaces are more prone to stains. Dark decors also show wear marks and shiny patches over time. This is natural ageing of the surface, not a defect.
Compact is not a good choice if you like putting a pan straight from the hob onto the worktop or cutting without a board. Nor does it suit anyone planning DIY alterations after installation. The hard material needs carbide or diamond tools. A cut-out made with an ordinary woodworking saw ends with a chipped edge.
Supports, overhangs and islands
A thin slab needs dense support. In practice supports stand no more than 600 mm apart. With open units and wide modules, where the gap would be larger, extra support is needed. The fitter chooses how the slab is fixed to the cabinets.
Cabinets must be perfectly level. A thin worktop will not hide height differences between carcasses. Before installation the carcasses are levelled carefully, and with open units a reinforcing batten is added along the wall.
The key decision is the overhang, the part of the worktop that sticks out beyond the cabinets. Without extra framing a safe overhang is 50 mm. Some slabs glued to the cabinets take up to 100 mm at the front and sides, and up to 250 mm on an island or a table on legs, but only with a stable support frame. When planning a kitchen it is better to assume the cautious value of 50 mm. Keep a larger overhang for cases where the data for the specific slab clearly allows it.
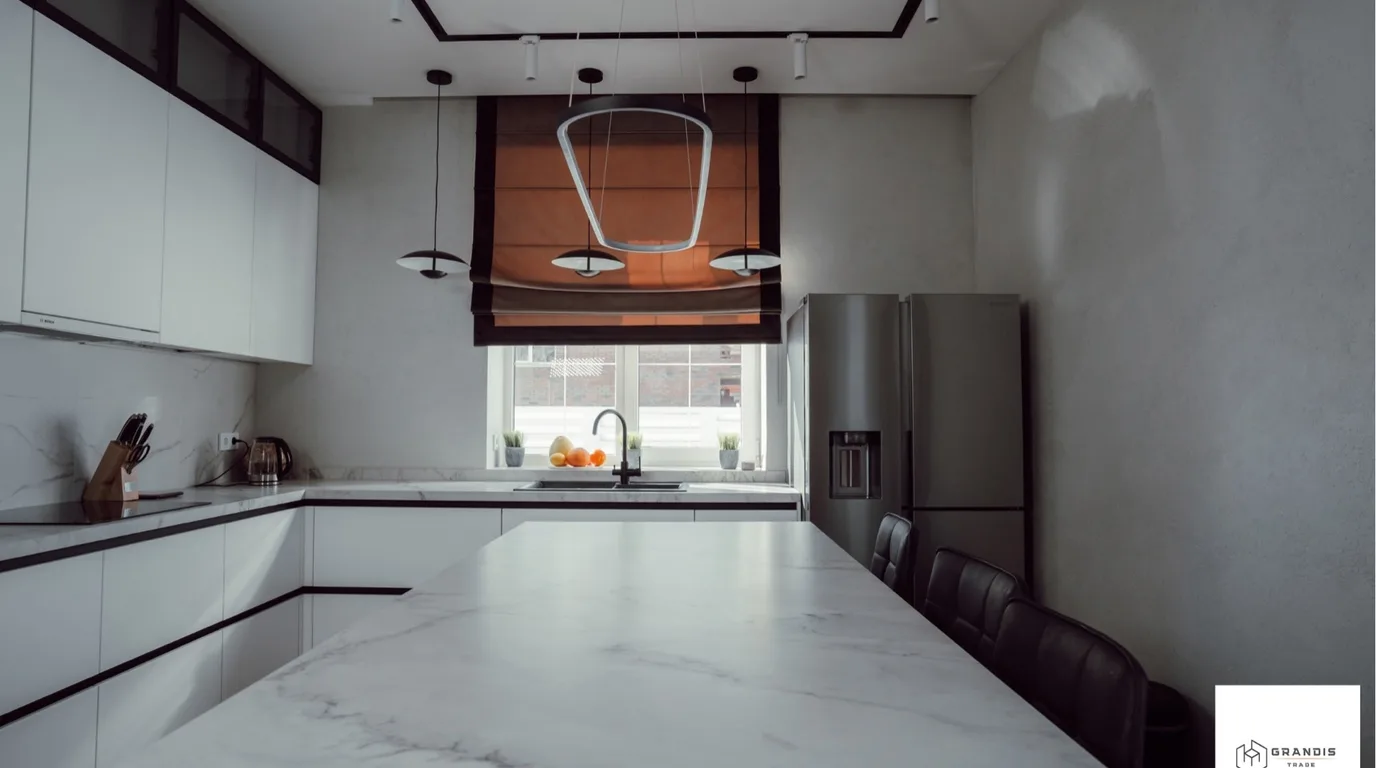
So a seating area at a compact worktop always needs support under the overhang. You can see what such support may look like in our greige corner kitchen. The dining peninsula there stands on a slim black metal frame. There are no cabinets underneath, so you can sit comfortably on any side. With a compact worktop such a frame is designed together with the top so that the supports land in the right places.
The slab moves with changes in temperature and humidity, so it is never pushed tight against the wall. A gap of at least 3 mm is left around the worktop and the wall panel. The second rule is 2 mm of clearance per metre of length. On longer worktops the second rule gives more, so it is the one to calculate with.
| Worktop length (example, 60 cm deep) | Area | Weight at 12 mm and 1,400 kg/m³ | Expansion gap at 2 mm/m | Supports every 600 mm |
|---|---|---|---|---|
| 2 m | 2 × 0.6 = 1.2 m² | 1.2 × 16.8 = approx. 20.2 kg | 2 × 2 = 4 mm | 5 |
| 3 m | 3 × 0.6 = 1.8 m² | 1.8 × 16.8 = approx. 30.2 kg | 3 × 2 = 6 mm | 6 |
| 4 m | 4 × 0.6 = 2.4 m² | 2.4 × 16.8 = approx. 40.3 kg | 4 × 2 = 8 mm | 8 |
One square metre weighs 0.012 m × 1,400 kg/m³ = 16.8 kg. The number of supports is the length divided by 600 mm, rounded up, plus one support at the end. The table assumes supports for open units.
Sink, hob and drainer grooves
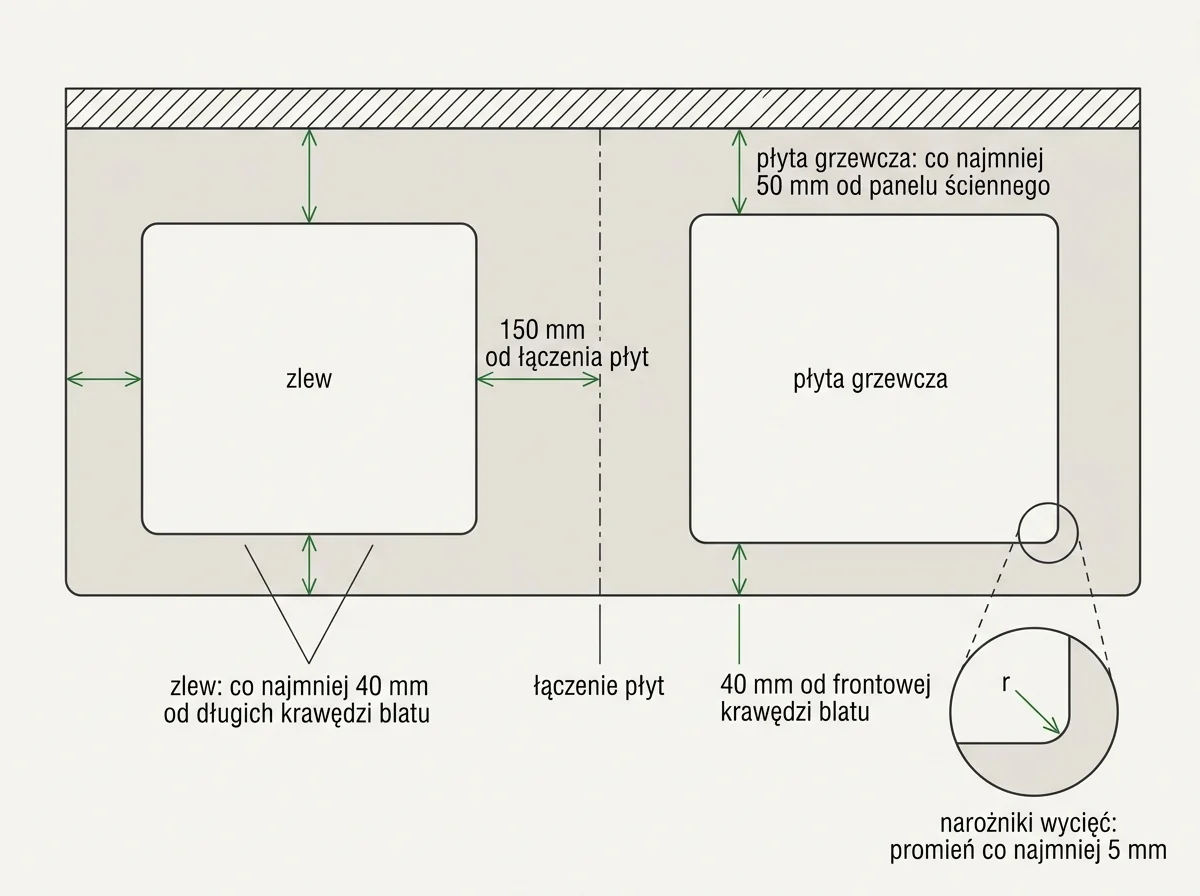
Sink and hob cut-outs are the most vulnerable spots on a compact worktop. Their corners are rounded with a radius of at least 5 mm. A sharp corner is a risk, because cracks in compact slabs most often start at corners and joints. Cut-outs are made in the workshop, on a CNC machine or with a router and a carbide bit.
Distances from the edge depend on what is being cut. In practice these minimums apply:
- The sink sits at least 40 mm from the long edges of the worktop and 150 mm from a joint between slabs.
- The hob sits at least 50 mm from the wall panel and 40 mm from the front edge.
- Holes for fixings underneath do not go all the way through, so nothing shows on the top.
An undermount sink is one of compact's strong points. The cut-out edge stays exposed because the core does not absorb water. After cutting, the edge is sanded with fine paper, and a coloured core is wiped with linseed oil. The sink is bonded with adhesive and also held by fixings underneath. A heavy ceramic sink is ruled out precisely because of its weight.
Drainer grooves can be routed into the worktop itself. The grooves are 5–6 mm deep and spaced 10–15 mm apart, sloping towards the sink. On a 12 mm slab the router must not go deeper than 6 mm, which is half the thickness.
Under the worktop above the dishwasher and oven, space is left for steam and heat to escape. Under the hob a pan drawer or a false drawer works best.
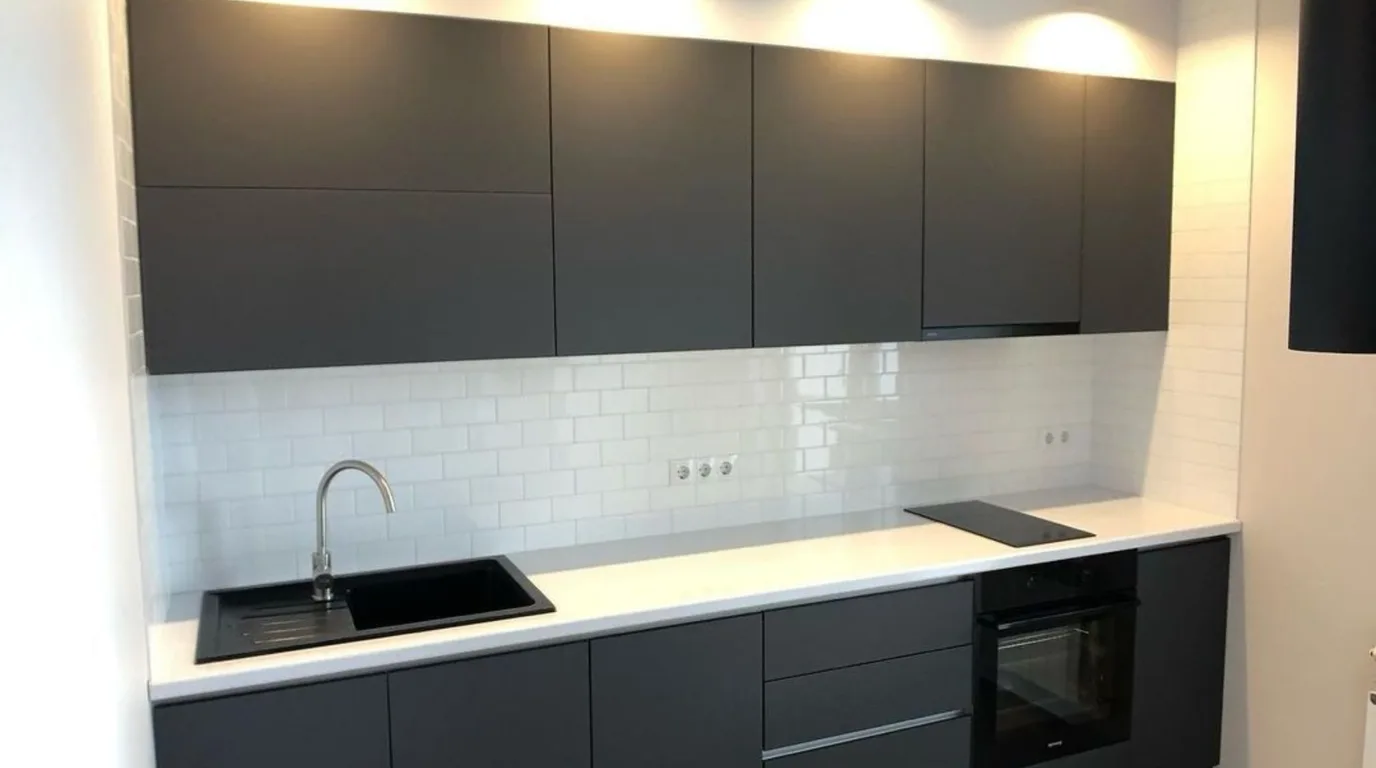
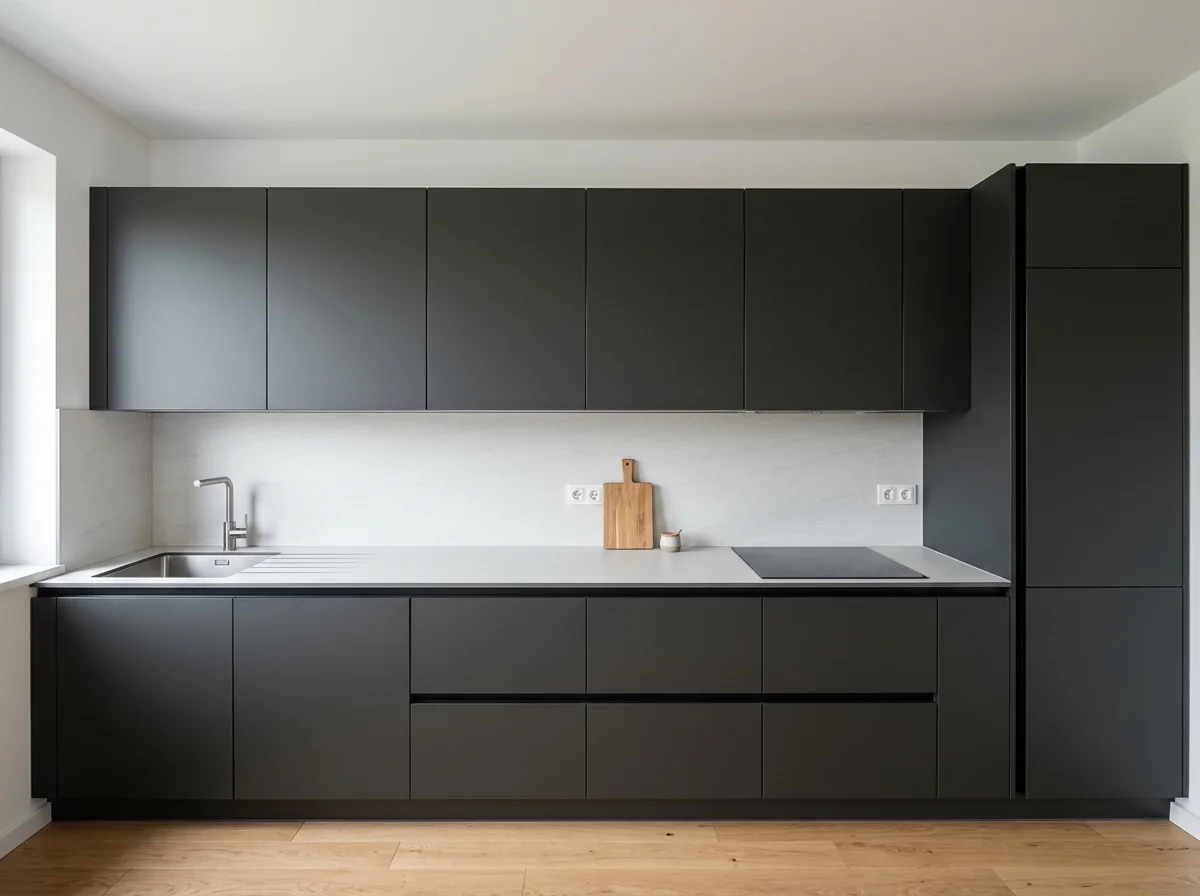
The order of appliances affects how strong the worktop is. In our single-wall kitchen in matt graphite the sink, work surface and hob stand in a row, and we left the longest stretch of worktop between the sink and the hob. With compact this layout also makes structural sense. The two cut-outs stay away from each other and from the slab joint.
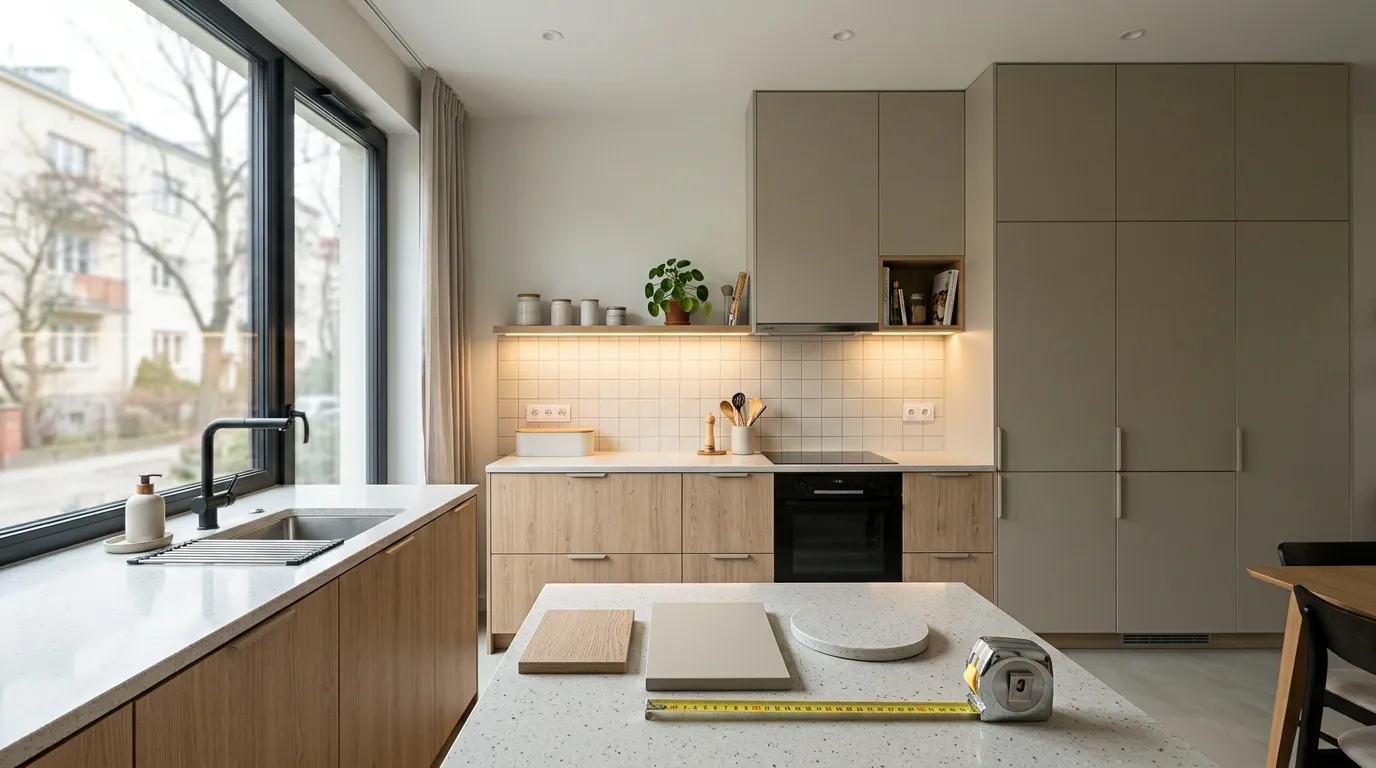
Support spacing and cut-out positions depend on the real size of your units and walls. That is why it pays to book a measurement before ordering the worktop — it is free.
What to settle before ordering an HPL compact worktop
A compact worktop is cut to fit specific appliances, so the sink and hob models must be chosen before production. Enlarging a cut-out after installation is difficult and risky. That is why the order of decisions differs from a laminate worktop.
- Choose the sink, tap and hob, with cut-out sizes from each appliance's data sheet.
- Measure the kitchen and check that walls and floor are level.
- Design with the layout of supports, overhangs, joints and cut-outs.
- Make the worktop with its cut-outs in the workshop.
- Acclimatise: before installation the slabs lie flat in the room for 48–72 hours.
- Install on levelled carcasses, with expansion gaps.
If a compact top is to replace an old worktop on existing cabinets, first measure the distances between their side panels. Every span longer than 600 mm, for example over a wide module or an open shelf, needs extra reinforcement.
For a made-to-measure kitchen we start with a free laser measurement. The next step is a design with visualisation and a quote. Production usually takes 2–4 weeks, and the exact date goes into the contract. The cost of a compact worktop depends on several things:
- the decor and core colour,
- the worktop length and number of joints,
- the number and type of cut-outs (undermount sink, flush hob, drainer grooves),
- extra elements from the same slab, such as a splashback or an island side panel,
- the support frame under the overhang.
We give the exact amount after measuring, in the quote attached to the design. How we work on whole fitted interiors is described on the page about custom furniture.
Daily care, stains and scratches
Compact is cleaned with warm water and a mild non-abrasive detergent. Spilled wine, coffee, vinegar or lemon juice leave no mark if wiped up at once. Trouble starts when acidic liquids, grease or strong degreasers stay on the surface for longer. The worktop may turn dull or discoloured there.
The list of things to avoid is short. No scouring powders or creams, chlorine bleach or solvents. Limescale is removed with a dedicated product or water with vinegar, and the worktop is then rinsed with clean water. Better not to use the rough side of a sponge, as it scratches the surface.
Hot pans only on a trivet. The surface briefly withstands up to 160°C. Even so, hot pans go on a trivet, because direct contact can leave a permanent mark.
Do not cut on the worktop without a board or slide cast-iron pans and stoneware across it. Do not stand on it when cleaning windows or hanging lamps. A heavy point load can cause a crack, especially near corners and joints.
If a scratch appears, first judge whether it is a sign of use or damage. Light wear marks on a dark decor are natural ageing of the surface. Edges and drainer grooves with a coloured core are refreshed by wiping them with linseed or food-grade oil. A crack at a cut-out corner or a joint may point to supports that are too far apart or a heavy point load. Such damage should be reported to the kitchen contractor.
This article is for information only and describes solutions as of October 2026. Properties vary between slabs, so the data for the specific slab applies during installation. The sink and hob are connected by a plumber and a qualified electrician respectively.
The first step towards a thin made-to-measure worktop is a free laser measurement. Just book a measurement, and we will settle thickness, supports and cut-outs on exact dimensions.
Frequently asked questions
What thickness of compact worktop is best for a kitchen?
Most often 12 mm, a proven thickness for a kitchen worktop. It is worth deciding on the thickness before the cabinets are designed, because it determines support spacing, the permitted overhang and the depth of the drainer grooves.
Is a compact worktop suitable for a bathroom?
Yes. The core does not absorb water, so compact copes well with wet zones, including an undermount basin. The same rules apply as in the kitchen: supports no more than 600 mm apart, rounded cut-out corners and an expansion gap at the wall.
Can I install a compact worktop myself?
Laying a finished worktop, cut in the workshop, on levelled cabinets is possible. Cut-outs, routing and joints are better left to a workshop with a CNC machine, because corrections after installation are difficult.
How are two compact worktops joined in an L-shaped kitchen?
The slabs are fitted on grooves with glued-in inserts, and the seam is filled with adhesive or coloured sealant. Adhesive alone is not enough, so the joint is reinforced underneath with mechanical connectors. The sink should sit at least 150 mm from such a seam.