A white and wood kitchen looks best when the warm material has one clear place: the worktop, the base units or the tall appliance housings. White stays in the background, and wood warms up the cabinetry. The result depends on three choices: the shade of white, the shade of wood and what the "wood" is made of.
In this article
A white and wood kitchen looks best when the warm material has one clear place: the worktop, the base units or the tall appliance housings. White stays in the background, and wood warms up the cabinetry. The result depends on three choices: the shade of white, the shade of wood and what the "wood" is made of.
You cannot leave these three choices until the end. Wood changes colour over time, and solid wood, veneer and wood-effect décor behave very differently in a kitchen. So before picking an inspiration photo, decide where the wood will get wet, where it will heat up in the sun and where it will be touched most often.
Three ways to pair white and wood
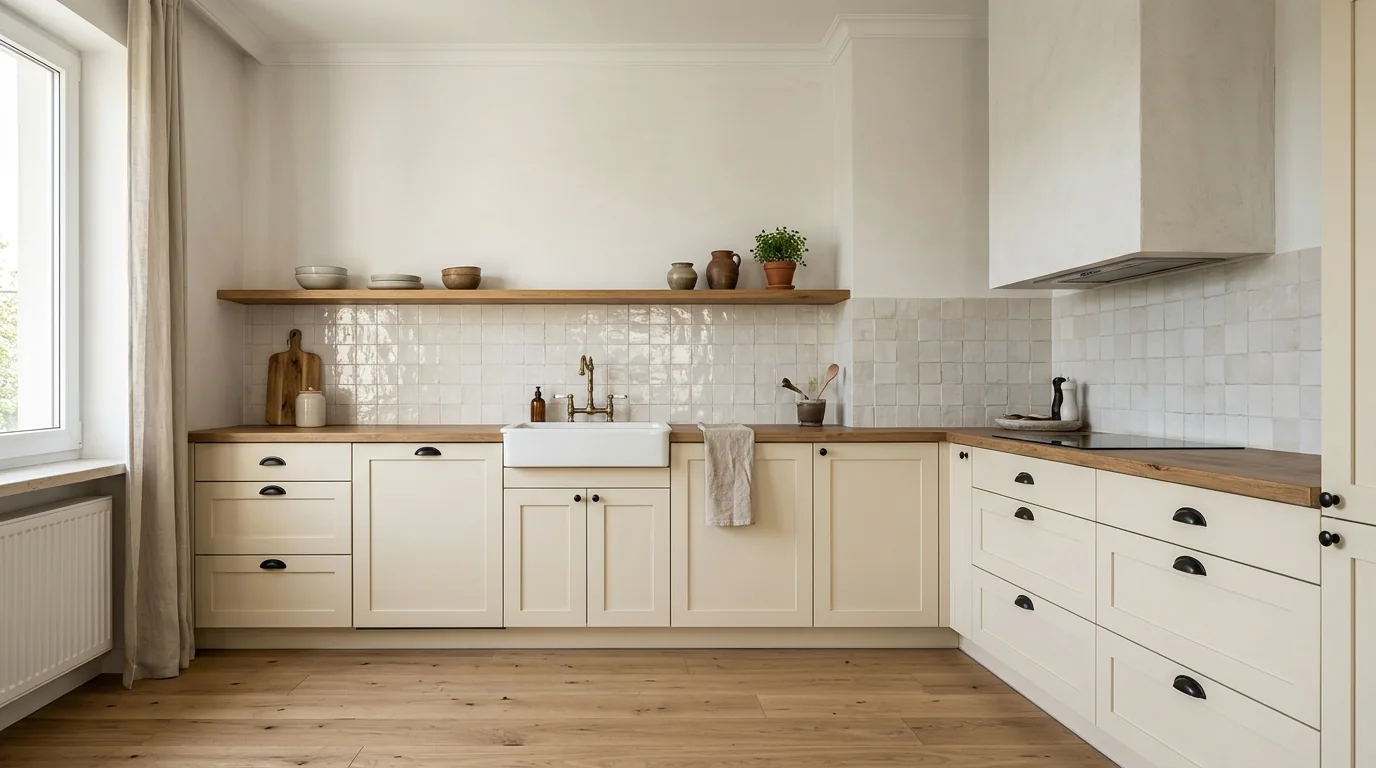
Most white kitchens with wood follow one of three layouts. A wooden worktop with white fronts, white wall units with wood lower down, or white and wood tied together with black details. Each layout distributes visual weight differently, so each suits a different kitchen.
| Pairing | Where the wood is | Effect | Watch out for |
|---|---|---|---|
| White fronts and a wooden worktop | the worktop, sometimes also the splashback | light cabinetry with a warm band in the middle | the worktop works by the sink and hob, so the material must cope with water |
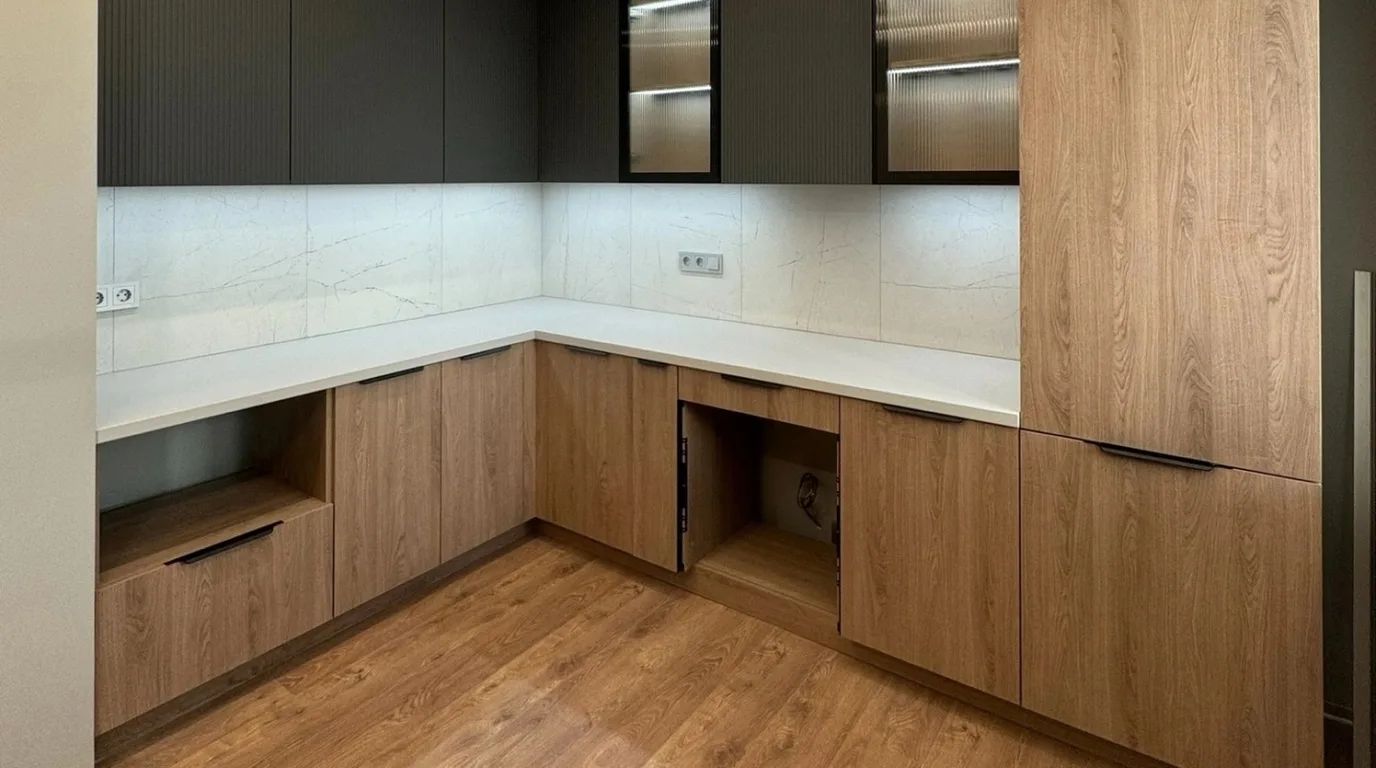
| White wall units, wood below | the base units or tall appliance housings | a light top, a heavier and warmer bottom | wooden fronts get touched a lot, so the finish matters |
| White, wood and black accents | the worktop or selected fronts, plus black handles, sink and tap | a sharper, more graphic look | too many black elements will start competing with the wood |
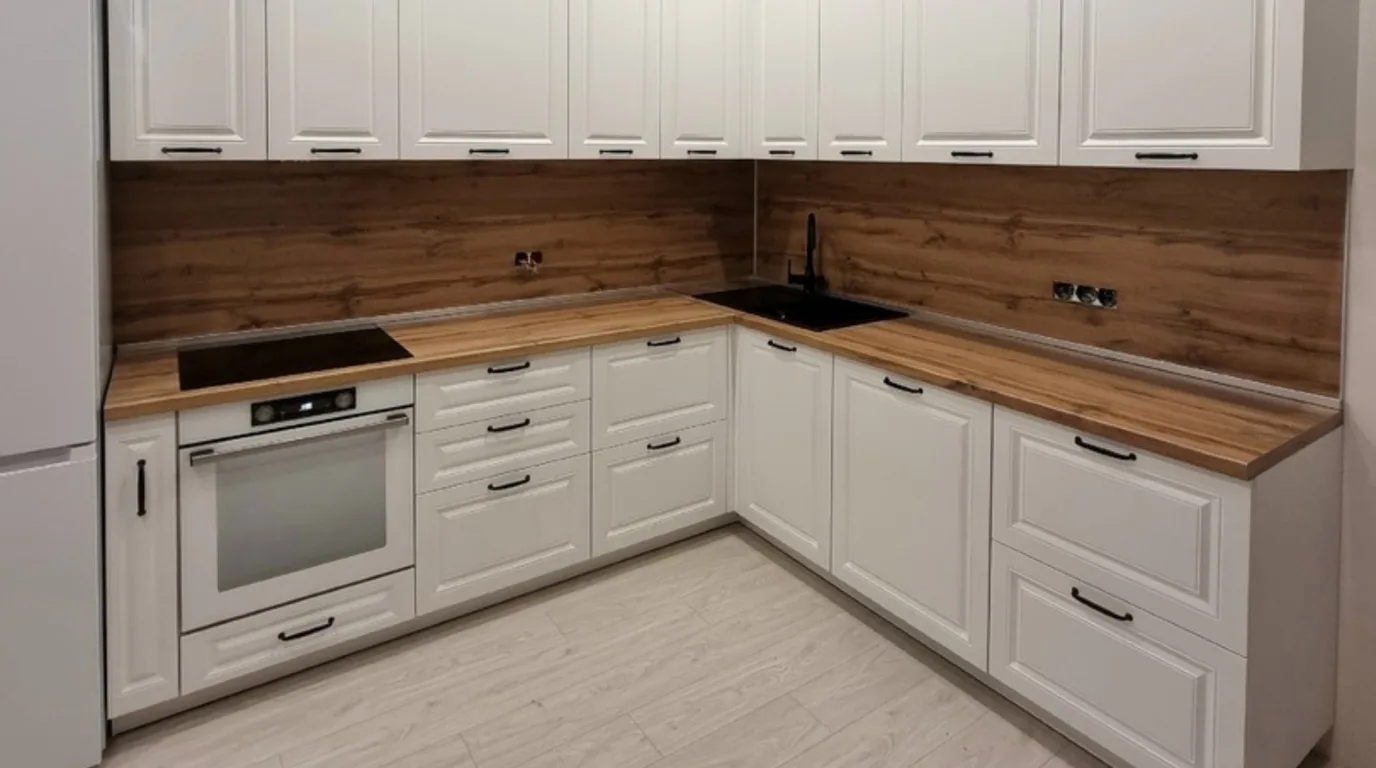
White fronts and a wooden worktop. This is the simplest option and the easiest to change later. In our white L-shaped kitchen with routed fronts the carcasses, fronts and plinth are white. The worktop and the wall panel share the same oak décor. The warm tone softens the coolness of the white, and the wall is covered with no grout lines.
White wall units, wood below. A darker, warmer colour at the bottom visually lightens the cabinetry. The white top reflects light and does not overwhelm the room, even when the units reach the ceiling. In our floor-to-ceiling kitchen with white gloss above the wood went into a block of tall appliance housings. The tall units have a greyish-brown oak décor, the wall units are white gloss and the base units are light grey matt.
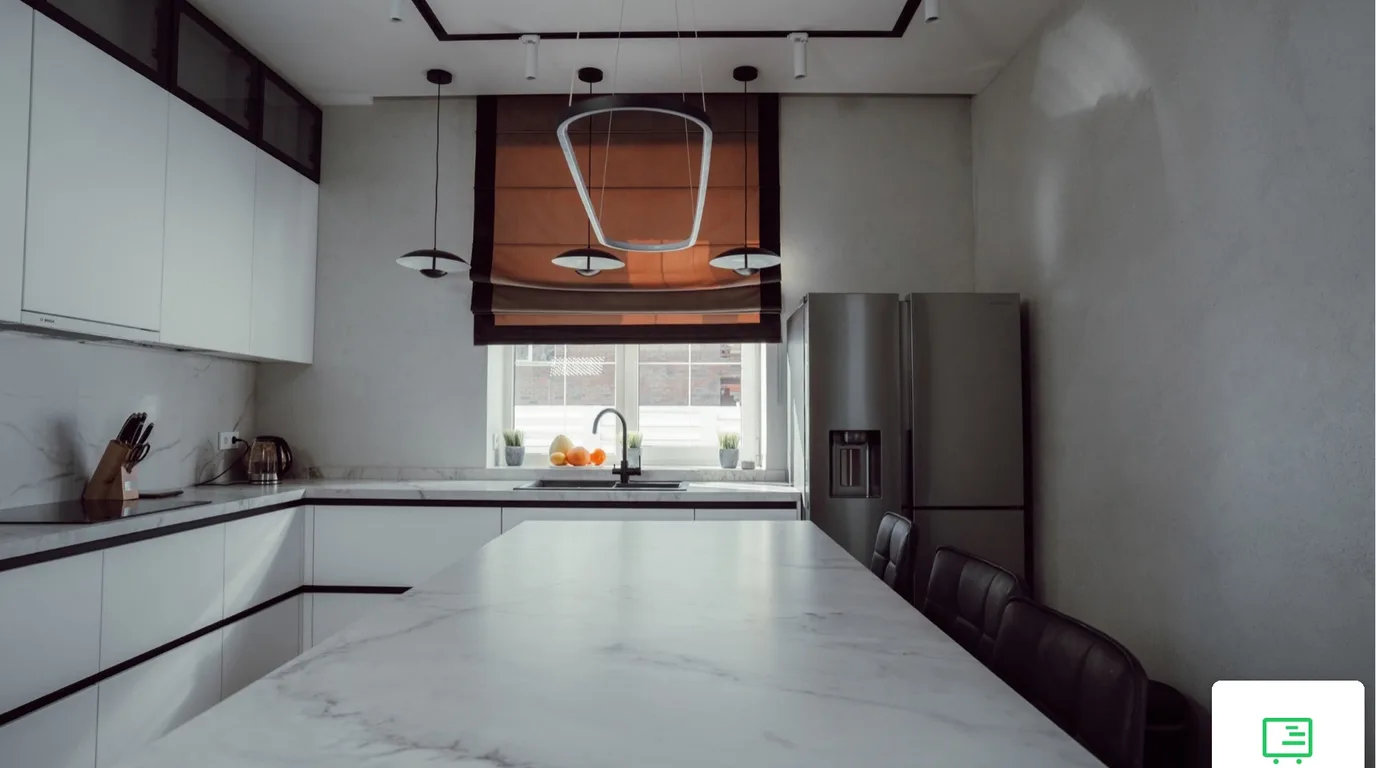
White, wood and black accents. Black brings order to a kitchen with lots of light surfaces. In the white L-shaped kitchen, black handles, a black sink and a black tap do this job. They tie the cabinetry into one line without pulling attention away from the oak-décor worktop. The same idea without wood, with a black profile instead of handles, can be seen in our white handleless kitchen with an island.
A kitchen with an island gives wood one more place. A wooden island next to white wall cabinetry becomes the centrepiece. The reverse works too: a white island with a wooden worktop only on it, facing the living room. In both cases, the wood should appear in one place, not in three different shades.
Shade of white and shade of wood
Not all kitchen whites are the same. A warm white with a hint of yellow or beige looks calm and soft, while a pure white is cooler and more contrasting. Wood has an undertone too: light oak and ash are golden beige, walnut is brown, and whitewashed oak can look almost grey.
A simple rule helps avoid a clash. Warm white goes with warm-toned wood, such as natural or honey oak. A cool, pure white works better with cooler wood or a strong contrast with dark walnut. The least successful pairs are a white that leans grey with a wood that leans yellow: both surfaces then look slightly dirty.
Compare colours in your own kitchen, by its window and under its lighting. The same oak décor looks different in a showroom and in a north-facing kitchen. In the evening, warm or cool under-cabinet lighting changes the colour as well. We explain how to plan it in our article on worktop lighting.
Natural wood changes colour under light. Oak gradually turns more amber and golden, although some species can also fade in strong sun. Ordinary lacquer does not stop this, and lacquer with a UV filter only slows it down. An oiled worktop also darkens slightly from the oil itself.
A year-old wood sample looks different. Natural wood and natural veneer change tone in the light, so a new piece matched to an old one may look different a few months later. Wood-effect décor on board holds its colour more steadily.
Solid wood, veneer or décor: what goes where
The word "wood" in a kitchen description can mean three different materials. Solid wood is a piece with no board inside; worktops are usually glued up from narrow strips. Veneer is a thin layer of natural wood glued onto a board. Wood-effect décor is printed paper with a grain pattern, impregnated with resin and pressed onto a board (laminate). They differ in water resistance, care and whether they can be refinished.
| Material | Where it works | Pros | Watch out for |
|---|---|---|---|
| Solid wood | worktop, shelves, island worktop on the living-room side | real grain, local marks can be sanded and re-oiled | an oiled finish needs regular re-oiling, water by the sink must be wiped at once, hot pans leave marks |
| Veneer | fronts, panels, cabinet sides | natural wood pattern on a stable board, thicker veneer can be refinished | changes colour in light like wood, needs gentler care than décor |
| Wood-effect décor | fronts, carcasses, worktop, wall panel | stable colour, moisture resistance, the same pattern on every element | the pattern repeats, edges and cut-outs must be sealed carefully |
A solid wood worktop should be a hardwood: oak, ash, walnut, beech or acacia. Softwood such as pine absorbs moisture more easily and wears faster. On an oiled worktop, marks are removed locally without sanding the whole surface, while damaged lacquer usually has to be sanded off the entire top. By the sink, wood works either oiled (easy to refresh) or lacquered (better with water), but in both cases water is wiped up straight away. Standing water makes wood turn grey and then darken, so the sink area needs the most attention.
Wood by the sink and hob. Wipe up water by the sink straight away and put a trivet under hot pans. If nobody at home will keep an eye on wood near water, keep solid wood for the island only and use décor by the sink.
Veneer gives you real wood fronts without the weight and movement of solid timber. Furniture usually uses thin layers, a fraction of a millimetre. Thicker veneer can be sanded and re-lacquered several times. Each front has a slightly different grain, which some see as a plus and others as inconsistency.
Wood-effect décor is a common choice in made-to-measure kitchens. In all the white and wood kitchens of ours mentioned above, the "wood" is in fact an oak décor. This makes it possible to give the worktop, wall panel and fronts the same pattern. With a décor worktop, pay attention to the edging and to sealing the sink cut-out. We cover the details in our article on laminate worktops. The difference between the boards under veneer and décor is explained in our piece on MDF and chipboard.
In practice, materials are often combined. Fronts and carcasses are made in décor, and solid wood appears only where it will be touched and seen up close, for example on the island worktop.
Splashback ideas for a wooden worktop
With a white kitchen and a wooden worktop, the splashback is easiest to handle in one of three ways. The same décor as the worktop, a light smooth surface or a material with a third texture. The choice depends on how much wood is already in the kitchen.
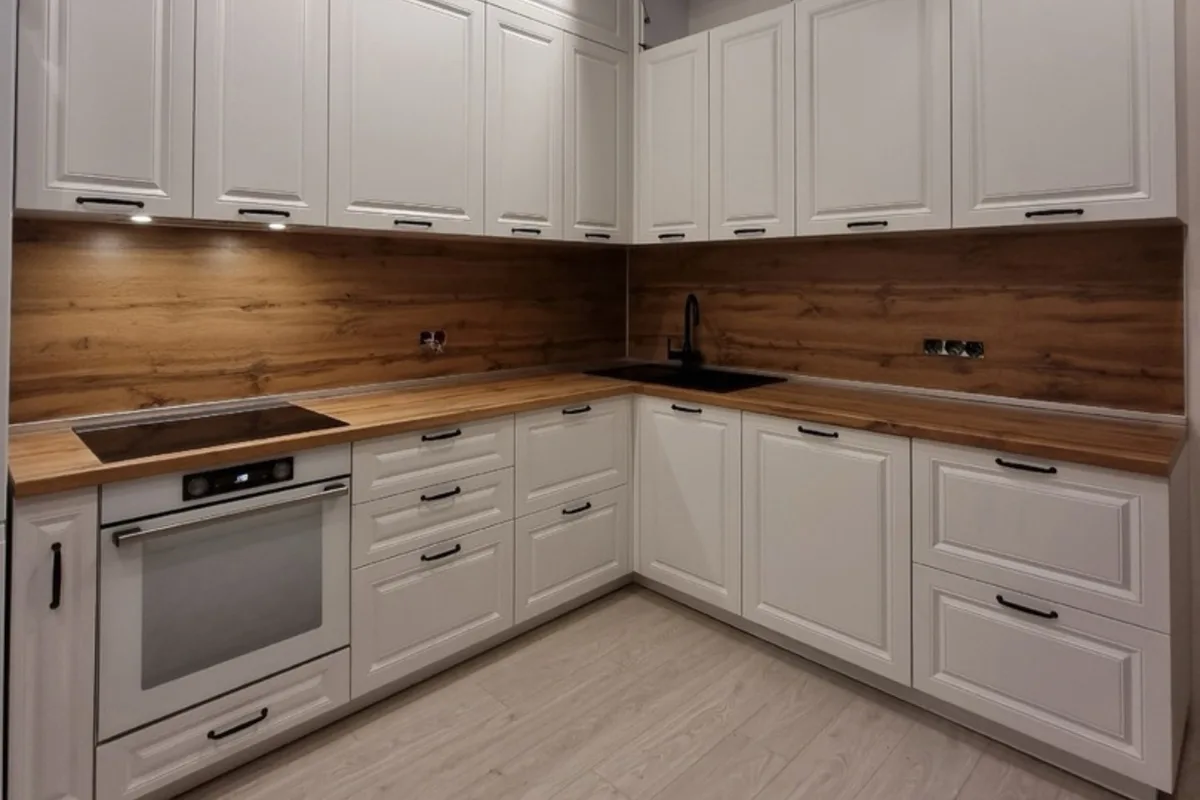
The same wood décor as the worktop. The wall and worktop form one warm band, and the white fronts stay in the background. This is what we did in our white L-shaped kitchen: an oak-décor panel covers the wall with no grout lines, so there are no joints to scrub. It works best when the fronts are smooth or calm and the wood appears nowhere else.
A light surface. A white panel, back-painted glass, light tiles or light stone separate the wood from the wall units. The kitchen looks lighter and the wooden band narrower. With tiles, keep the grout in mind: light grout next to the worktop darkens faster.
A third texture. Brick, boldly patterned tiles or veined stone add character, but only when the worktop and fronts are calm. Three strong patterns at once, grain, tile pattern and routed fronts, start competing with each other.
One wood pattern per kitchen. If both the worktop and the splashback are in a wood décor, make it the same décor. Two different shades of oak side by side usually look like a mistake, not a design decision.
More examples of such pairings are in our article on the worktop and the wall above it. If, with white fronts, you want wood only on the wall and a stone work surface, compare quartz worktops as well.
White fronts: matt or gloss next to wood
White gloss next to wood creates a contrast of textures: a smooth, shiny surface beside matt grain. It reflects window light and makes the kitchen look bigger. White matt is calmer and closer to natural wood, so the whole kitchen feels warmer.
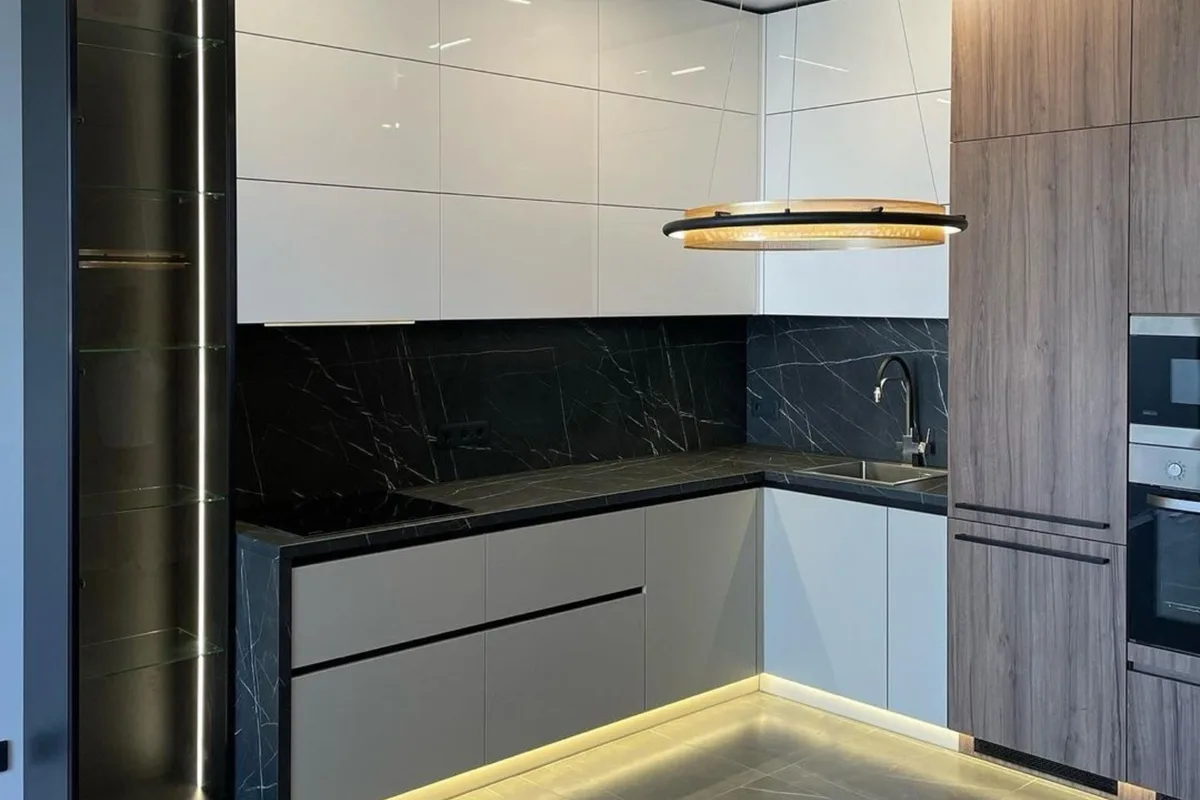
The difference also shows in daily cleaning. In our kitchen with white gloss above, we made the base units light grey matt. Those fronts are touched most often, and fingerprints are less visible on matt. We kept the gloss up top, where the smooth surface reflects light from the window.
You can apply the same split to a white and wood kitchen. Gloss higher up, matt or wood lower down, where hands do the work. We compare the finishes in detail in our article on matt or gloss lacquer.
Where to start and what affects the cost
The right order of decisions saves rework. First the kitchen layout and the sink position, then the worktop material, and only at the end the shade of white. It is easy to match the fronts to the wood. The other way round is harder, because the range of wooden worktops and veneers is narrower than the palette of white lacquers.
- Decide where the wood will get wet. By the sink and dishwasher, choose a material and finish that resist water.
- Choose one place for wood: the worktop, the base units, the tall units or the island.
- Match the white to the wood's undertone and compare colours by your own window.
- Decide on the splashback: wood, a light surface or a third texture.
- Finally choose the accents: handles, sink and tap in one colour.
The cost of a white and wood kitchen depends above all on the material of the wooden elements. Solid wood and veneer involve different work than décor on board. The finish of the white fronts, routing, the length of the run and the number of tall appliance units also matter. We give the exact figure after a free measurement, in a quote attached to the design with a visualisation, and the price goes into the contract.
A design makes it easier to judge how much wood a particular kitchen needs. The first step is a free measurement. You can read more about how we work on our made-to-measure home furniture page.
This article is for information only and describes solutions as of November 2026. An oiled worktop is usually re-oiled every few months; for the exact interval, follow the recommendations for the specific oil (they are on its packaging).
Frequently asked questions
Is a wooden worktop suitable next to the sink?
Yes, if it is a hardwood. By the sink, wood works either oiled (easy to refresh) or lacquered (better with water), but in both cases water is wiped up straight away. Oak, ash, walnut and beech handle moisture better than pine. If you do not want to keep an eye on wood near water, choose wood-effect décor by the sink and keep solid wood for the island.
Oak or walnut for a white kitchen?
Oak gives a lighter, warm and calm kitchen and pairs well with warm white. Walnut creates a strong contrast and looks better with a pure, cooler white. In a small kitchen oak is usually the safer choice, because a dark band visually shortens the room.
What floor goes with a white kitchen and a wooden worktop?
Ideally one that does not imitate the same wood in a different shade. Either a floor clearly lighter or darker than the worktop, or light tiles or stone. Two almost identical but not matching shades of oak on the floor and worktop look mismatched.
Can I reverse it: wooden fronts and a white worktop?
Yes. Then the wood dominates, and the white worktop and light wall above it brighten the cabinetry. This layout is closer to a wooden kitchen than a white one, so it works best in larger, well-lit rooms.